Showing posts with label pasta. Show all posts

11.11.2010

TWO For The Price of ONE!

So I was chatting with a friend the other day about my blog. I told her that I had pictures for 2 meals that I had made months ago and I never got around to uploading and so forth. Well.... turns out I was mistaken. I, in fact, have 4 random meals from the past! These next two recipes are simple and fast (almost no prep!) - GREAT for a weeknight dinner!
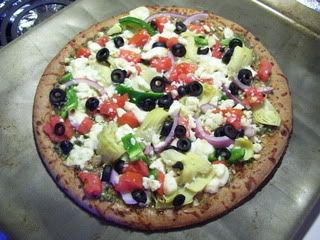
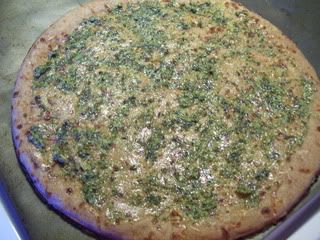
First off we have ANOTHER PIZZA! This time it's a pesto pizza. I started out with a whole wheat prebaked crust and spread a layer of store prepared pesto on top.


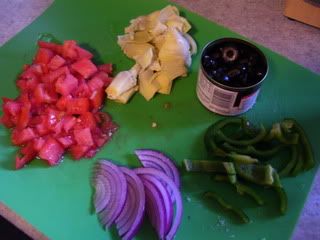
The toppings for this pizza include fresh tomatoes, artichoke hearts, black olives, green bell pepper, and red onions.


I top my pizza with the veggies, spread some feta cheese on top, pop it in the oven for about 10 - 15 minutes and DING: dinner is served. I usually pair these quick pizzas with a salad. This meal took me a total of 25 minutes from start to finish! Not too shabby!


Next is another trusted recipe from allrecipes.com. Cheese ravioli with tomato and artichoke sauce. (I LOVE ARTICHOKES!) The recipe calls for fresh tomatoes, but to speed things up I used an undrained can of diced tomatoes. To start things out I prep my artichokes and some green onions. I then start to saute all the sauce ingredients which include tomatoes, artichokes, green onions, garlic, salt and pepper. (I added some Italian seasoning to the mix as well.) This is a very simple sauce that was super tasty!
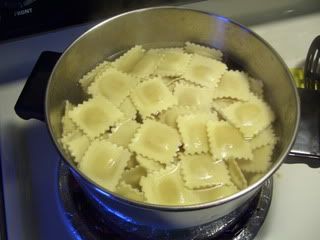
I boil some prepackaged cheese ravioli while the sauce simmers.

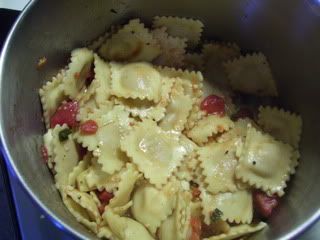
Once the ravioli is finished, I drain the water out and mix in half of the tomato and artichoke sauce.


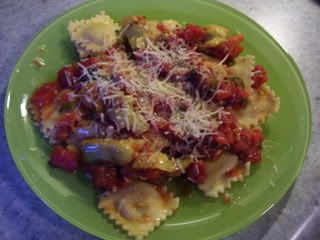
Final steps include plating the pasta, adding some more sauce to the top, and a sprinkle of parmesan cheese! Everyone in the house liked this meal. Matt said I could make it any time I want! I also paired this pasta with a simple salad (my go-to). This meal took me about 25 minutes to complete.


More meals to come! (Maybe.... I start the new term on Tuesday. Hopefully I can find some time for at least one more post this weekend!)

11.02.2009

Comfort Food For a Monday Night!


I am an avid list maker. I make grocery lists, menu lists for a week's worth of food, to-do lists, gift-shopping lists, if there is a list to be made - I am in the shadows making it (or out in the open sometimes - I'm crazy like that!) Anyway - wanting to make something Italian for dinner soon (because it's Ronnie's favorite and a sure way to make him eat up all of his dinner) while making my grocery list I couldn't decide on a lasagna or manicotti. Manicotti won after asking some people for their opinions and HERE WE GO: Manicotti comin' right at cha!


This manicotti is extremely simple and actually comes together fairly quickly. I paired the manicotti with a new garlic bread recipe I spied on allrecipes.com, Roasted Garlic Bread - and YUM-O, am I glad I did! To start the meal out, I cut the top halves off of 3 bulbs of garlic. Sprinkle them with a bit of olive oil, and just as the recipe says, stick them in a 350 degree oven for about 30 minutes. This is also when I open the window in the kitchen - though it smells pretty good - roasting garlic can be a bit over-powering to sensitive noses! I then can move onto preparing the manicotti.


My filling for manicotti involves a pint of ricotta cheese, 2 cups of mozzarella, a handful of parmesan, an egg, half of a finely chopped red onion, garlic powder, basil, oregano, a bit of parsley, and a few twists from my black pepper mill. No need to add salt, the tomato sauce has plenty of it for the whole meal.

One thing I did not take a picture of, (because really, who wants another boring picture of pasta boiling), are the manicotti noodles. For this particular recipe, I only cook the manicotti noodles about halfway (5 minutes tops). This allows for a sturdier noodle when filling it with cheese, and the time in the oven afterwards is enough to cook the noodles all the way through - plus it's a time saver! Love those!


So - by now the manicotti noodles have been removed from the water and drained and we are ready to start stuffing!!! First things first, I cover the bottom of my 9X13 pan with half of my tomato sauce.

Who says "piping-bags" are just for pastries?!?! NOT ME! Using a big ziplock bag, I fill it with the cheese mixture, cut the corner off and fill my manicotti noodles with ease! Don't make the same mistake I have before by cutting the hole too big - remember the rule (and this is a GREAT rule that can be applied to a lot of different things) you can always take off more but you can never add it back once it's been cut! Anyway - if you cut the hole too big, it ends up taking almost just as long to fill because it gets messy. But if you cut the hole in the corner of the bag slightly smaller, it's really easy to stick it in the noodle - squeeze - and you are filled and ready for the next one! Pretty nifty huh?

I arrange all the noodles in the dish, cover them with the remaining sauce, and top with a bit more parmesan. By this time, the roasted garlic is ready to come out. So I swap the garlic for the manicotti in the oven for about 45 minutes.

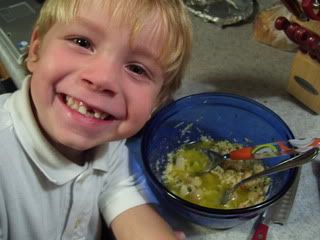
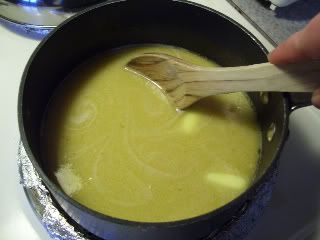
I let the garlic sit and cool so it is easy to handle with my bare hands. This is exactly when Ronnie made his way into the kitchen, "mmMMmm - that smells delicious Mama" were his exact words. It really is hard to resist the smell of roasting garlic... too bad for Vampires. So, now that Ronnie likes the smells coming from the kitchen, he is ready and willing to help! We melt a stick of butter in the microwave and once it is done we simply squeeze the bulbs of garlic. The cloves easily plop out of the bulb into the butter and that's pretty nifty too!


Simply following the recipe - our garlic bread topping consists of a stick of melted butter, the 3 bulbs of roasted garlic, a handful of parmesan cheese, and some chopped parsley. We used a fork to mash the garlic cloves and mixed everything together.


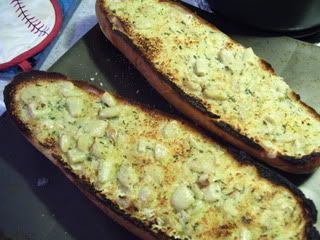
A large loaf of french bread is cut into halves and we spread the garlic butter mixture over the two halves. We could already tell at this point that dinner was going to be good!
After washing a few dishes to help Matt out (I'm the cooker (for the most part), he's the dishwasher) the manicotti is ready to come out of the oven. I switch the broiler on and throw (okay - not literally) in the garlic bread.


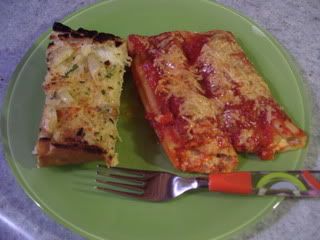
Almost every time I cook - I learn a little something. Monday night was no exception! Next time I will lower the top rack so my edges don't get burnt by the broiler. It says 5 minutes and I kept a close eye on it and ended up taking it out a little early so I wouldn't totally ruin the bread. Regardless - obviously - it still turned out FANTASTIC!


Serve these up with a salad and you have a GREAT comfort food meal that would be hard not to please everyone! Really easy - a bit time consuming - but well worth it for sure!


I am thinking of switching my picture-provider-uploader-service-whatcha-ma-call-it. Currently I use photobucket - but lately service has been slow and my picture's don't always upload to blogger... Any suggestions? I was thinking of trying picasa?
Till next time! Have fun in the kitchen!!!
10.13.2009

Artichokes, Olives, Capers - OH MY!


I have been on this artichoke-kick lately. I love them! I can't get enough of them. And I can't wait till my friend Beth decides to make fresh artichokes with all the dipping sauces just like she did for NYE this past year (are you reading this Beth?)


Any-who. Yesterday evening's dinner consisted of, you guessed it, artichokes. This particular meal has a light taste and is great paired with a salad and garlic bread (our staple "Italian sides" in the Luckey-Meyer home). Another great thing about this vegetarian meal - it is so close to NO PREP it almost hurts. The only items you need the cutting board for are the artichokes and parsley. But don't get me wrong - this is just the way I prepared it - you can buy already quartered artichokes! And I have been known to use dried herbs before! So if you really wanted this to be absolutely NO PREP - then by all means - get on it!

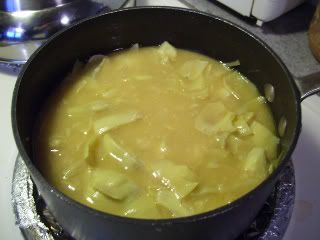
To start out, I bring vegetable broth, butter and flour to a boil and lower the heat, letting it simmer till the mixture has thickened up.


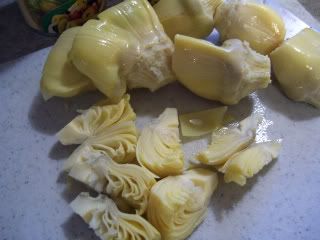
While the base of my sauce is thickening, I start to quarter 2 cans of drained and rinsed artichoke hearts. YUM! Not only are artichokes delicious - I think they are the most attractive produce of the bunch! (I really do have a thing for artichokes - LOL!)


Once the sauce has thickened and my artichokes are quartered, I add the artichokes, about a half-a-cup of lemon juice, garlic, and a little bit of parmesan cheese to the sauce.


Yep - the fettuccine looks good as it boils in my big pot!


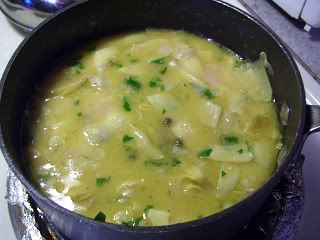
I continue to let the sauce cook for about 10 minutes. When I am ready to mix in the pasta, I add some parsley and capers right before the end!


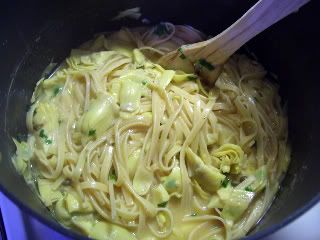
Once the pasta is drained, I pour it back into the large pot and I then add the artichoke sauce. I mix the pasta and sauce together, adding a bit of salt and pepper to taste.


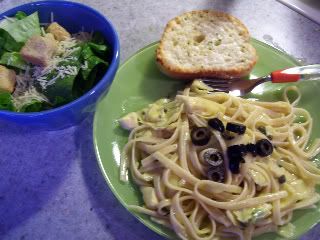
I plate up the pasta, garnish it with some black olives, and DINNER IS SERVED! The briney (is that even a word?) flavors of the capers and olives give the subtle artichoke flavor a nice little "oomph". A prefect pair for anytime!


I told you I would be back with a complete meal! Tonight I am making a stir fry! Let's see if I remember to get out the camera!

10.08.2009

allrecipes.com, Will You Marry Me?


So, I don't know what it is... I have been a bit of a slacker in the kitchen. Not so much the actual cooking part, but more like the taking pictures/creating my own food part. The family get-together (almost) two weeks ago was a SUCCESS! We ended up making a Buffalo "Chicken" Pizza, a Veggie Ranch Pizza, the Pizza-Without-The-Red-Sauce, and a meaty pizza with pepperoni, mushrooms, and onions. But alas... The busy day kept me from taking pictures. Then, just last weekend, we had friends from Columbus stay with us, I made lots of yummy food like a spicy hot Mexican spinach dip and artichoke/eggplant sandwiches, but once again, pictures were not taken.


Maybe it's all the coming and going, maybe it was my son being sick last week (he is MUCH better now - thanks!), but one thing I have been doing - cooking from allrecipes.com and OF COURSE taking pictures of the final product to upload on the site. If I have said it once, I have said it a MILLION times, allrecipes.com is my favorite food site! The recipe database is HUGE and I love the fact that you can upload pictures, rate and review recipes. The reviews are especially handy because you can see what other people have experienced during their attempts to make the recipe.

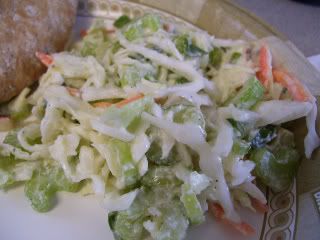
So, as to not leave my faithful and AWESOME readers waiting any longer, I decided to upload and blog about a few things I have made recently from allrecipes.com. The first recipe I am sharing is the Original Blue Cheese Cole Slaw. For all the meat eaters that read my blog, this recipe was originally paired with a buffalo chicken sandwich (and I thought that sounded really tasty - if it wasn't for the whole vegetarian thing, I would be on that bandwagon!) I served this slaw one Settlers night with jalapeno melts (veggie burgers on sourdough bread with sauteed onions, sliced jalapenos, and pepperjack cheese - a burger that is made quite often at the Luckey-Meyer home). I followed the recipe exactly and it turned out really good! There is only one thing I would caution people about - the next day the blue cheese had taken over the slaw! That is all I could taste at lunch the next day and it was overpowering for my own tastes (which - you know it was strong because I LOVE cheese!) So, my suggestion would be to eat it all the same day!!!


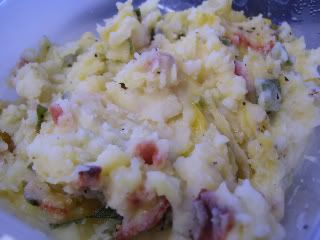
That same Settlers night I also made these Twice-Baked Mashed Potatoes. They are a take on twice-baked potatoes, only instead of putting the potato filling back into the skin, you put it in a baking dish and let it bake with some cheese on top! I did not follow this recipe exactly, as I thought some adjustments were needed to please my particular crowd. Instead of using the green pepper and onion mixture it called for, I used about 5 green onions. I sauteed some garlic with the onion, and of course used fake bacon instead of the real stuff. These turned out better then expected and I will DEFINITELY be making these again and again and again. A bit time consuming, but they do take a little less time than real twice-baked potatoes (because you don't have to stand there stuffing however many individual potatoes), so if I were you, I would give these a try!


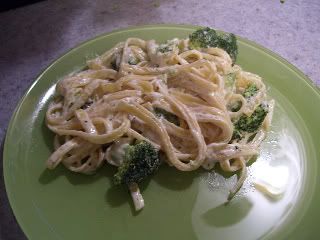
Finally, earlier this week I made this Really Creamy Fettuccine Alfredo. I have never attempted a homemade alfredo before, and this one seemed easy enough. Because of my lack of experience with this sort of food, I followed the recipe exactly, only adding some steamed broccoli at the end. Next time (and there will be a next time because this was like one of the easiest dinners ever!) I will cut back on the cream cheese (and by cream cheese, I mean neufchatel of course). Maybe add some more parmesan or try to substitute some with sour cream. I would only do this because the cream cheese was the main flavor in this dish, and that's not really the alfredo flavor I was looking for. Also - another word of caution on leftovers - the next day the sauce had turned clumpy and the taste was almost null. I didn't even finish it to be honest because I felt like I was eating just plain, clumpy noodles.


Next post I will have a complete meal! PROMISE! Till then - Happy Cooking!!!


***Also - QUESTION for all my computer geek friends... So - I am having trouble figuring out how to evenly space my photos, paragraphs and the like on my blog. I am only using the generic posting tools for blogger, but it's funny, because I will evenly space everything on my template, but then when I publish it, everything is all uneven again (as I am sure you have noticed! I promise I am trying to keep a clean blog!!!) HELP!?!?! Anyone?
8.09.2009

Stuff This Not That

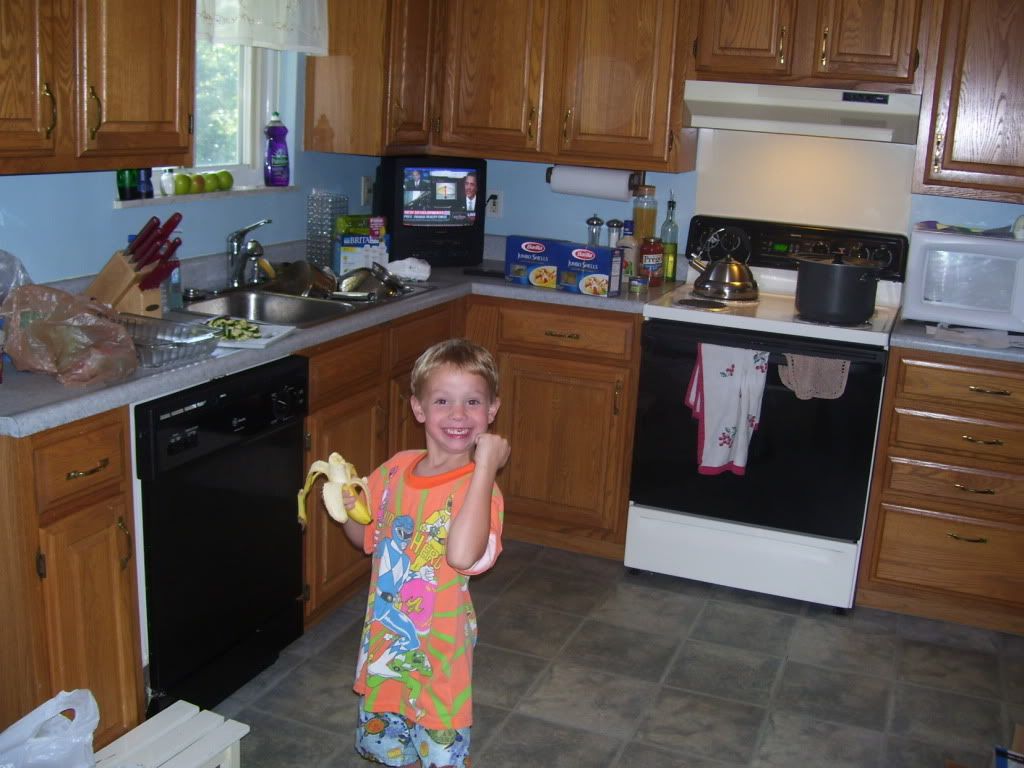
Welcome to my NEW kitchen! Okay, well, it's not new-new, but it's new to me!!! Though it's not that much bigger than my old one, I feel like I have so much more room to spread out and really get cooking! You'll also see Ronnie in there - my trusty helper!
Today's meal is consisting of a stuffed shell that I have been making for awhile now. Being a vegetarian, the hardest part about cooking is all the prep-work that can go into it. I like this particular meal because it utilizes frozen vegetables! The only thing I have to prep is some fresh zucchini and opening cans!!!


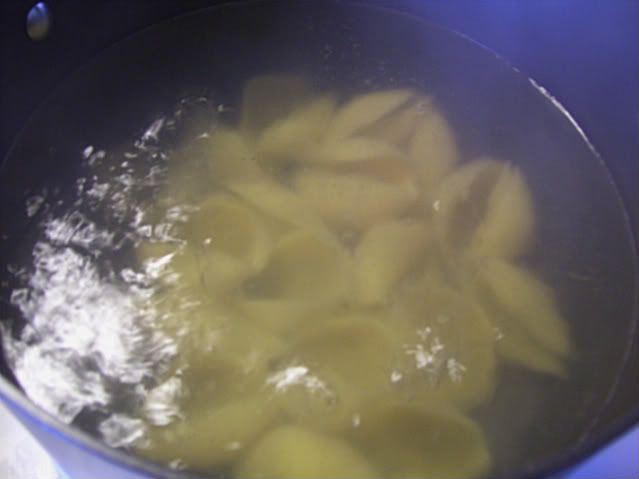
To start the meal, I boil some lightly salted water and add around 18 shells.


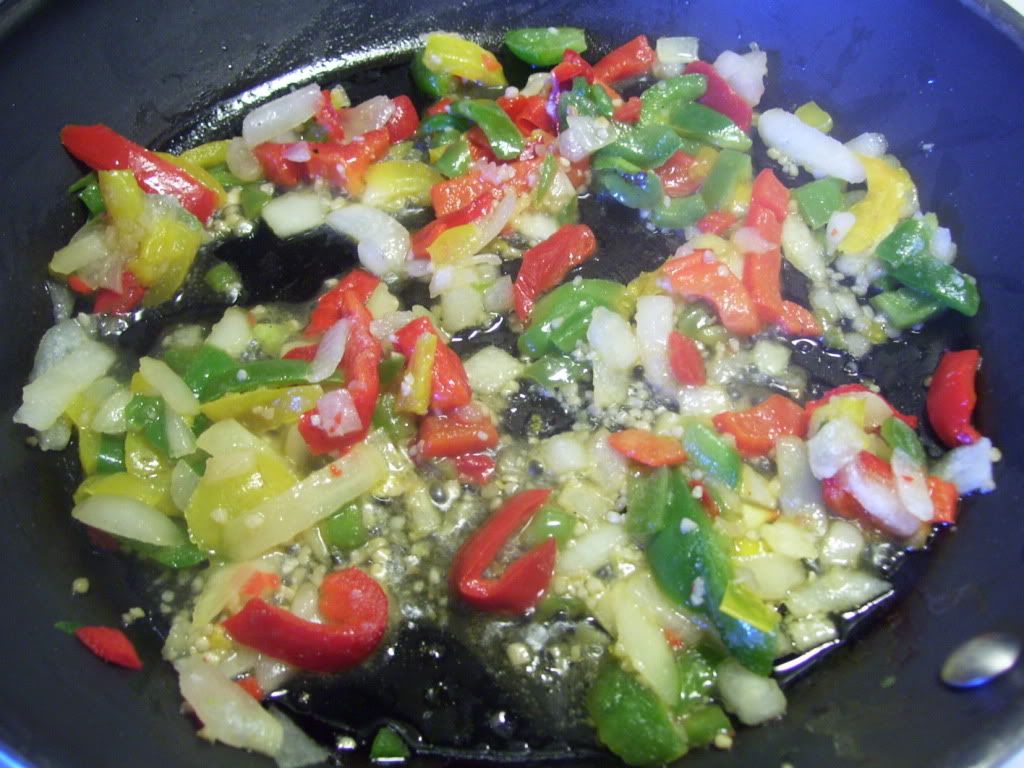
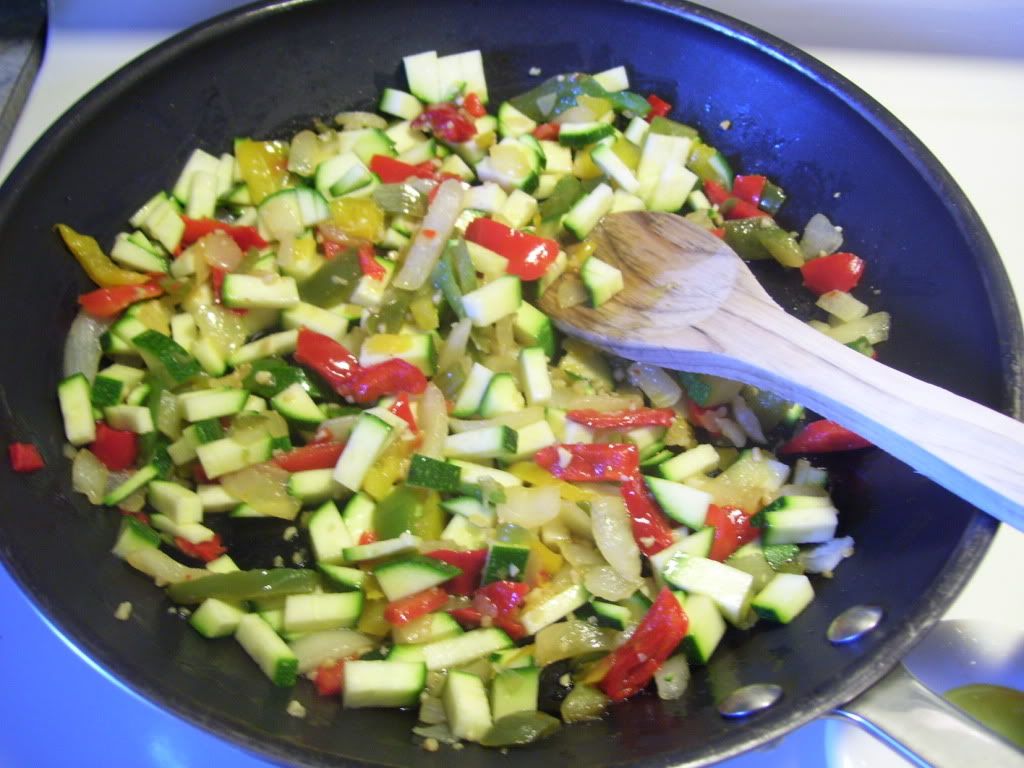
After heating some olive oil in a skillet I add about a cup of frozen pepper and onion mix, along with some minced garlic. See??? No prep! Straight from the freezer to the skillet! LOVE IT!


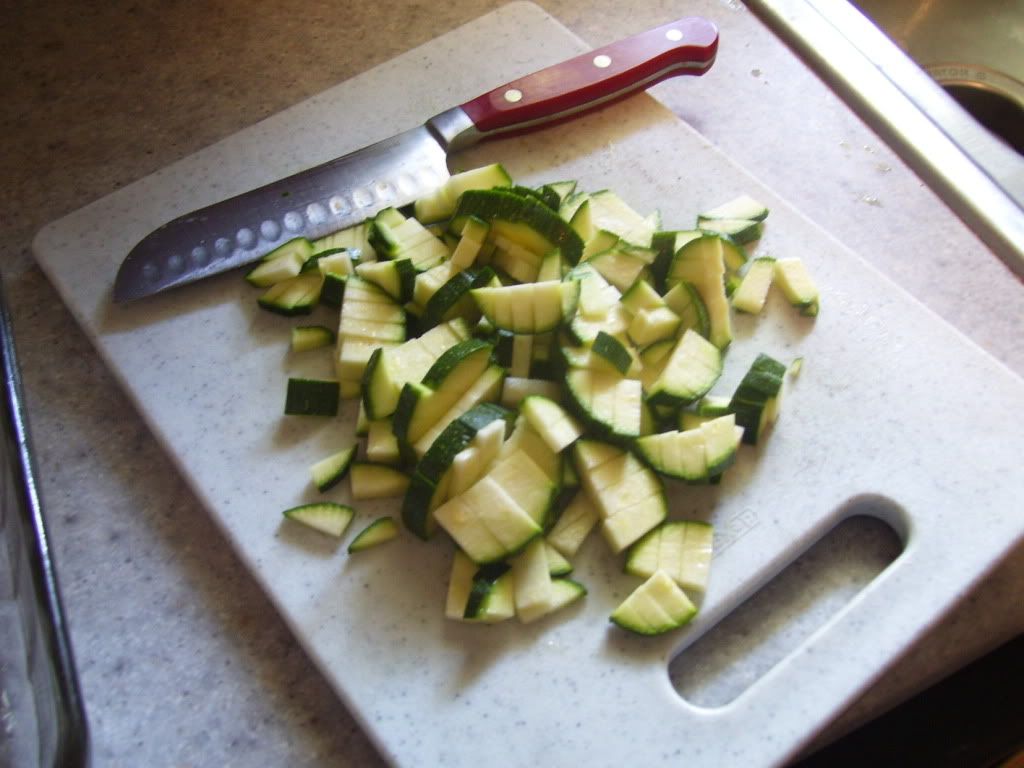
This is my only major prepping-step! I cut up a medium zucchini. Not too bad at all!


I then add the chopped zucchini to the pepper-onion and garlic mix and let it cook for about 5 minutes. Then I add a small can of sliced black olives! Mm-mmm... Olives! I think it's the olives that really make this meal special.


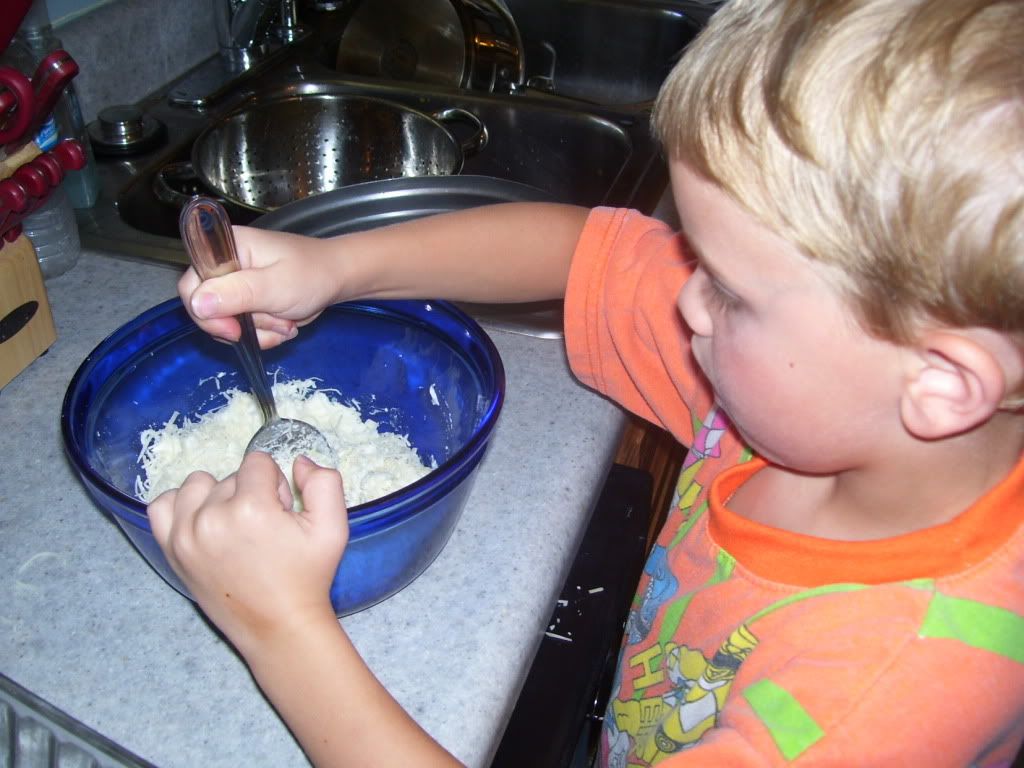
My trusty helper Ronnie is seen here mixing low-fat ricotta, parmesan and part-skim mozzarella cheese. This recipe originally calls for an egg, but I was out - I honestly didn't even need it as it turned out fine in the end!


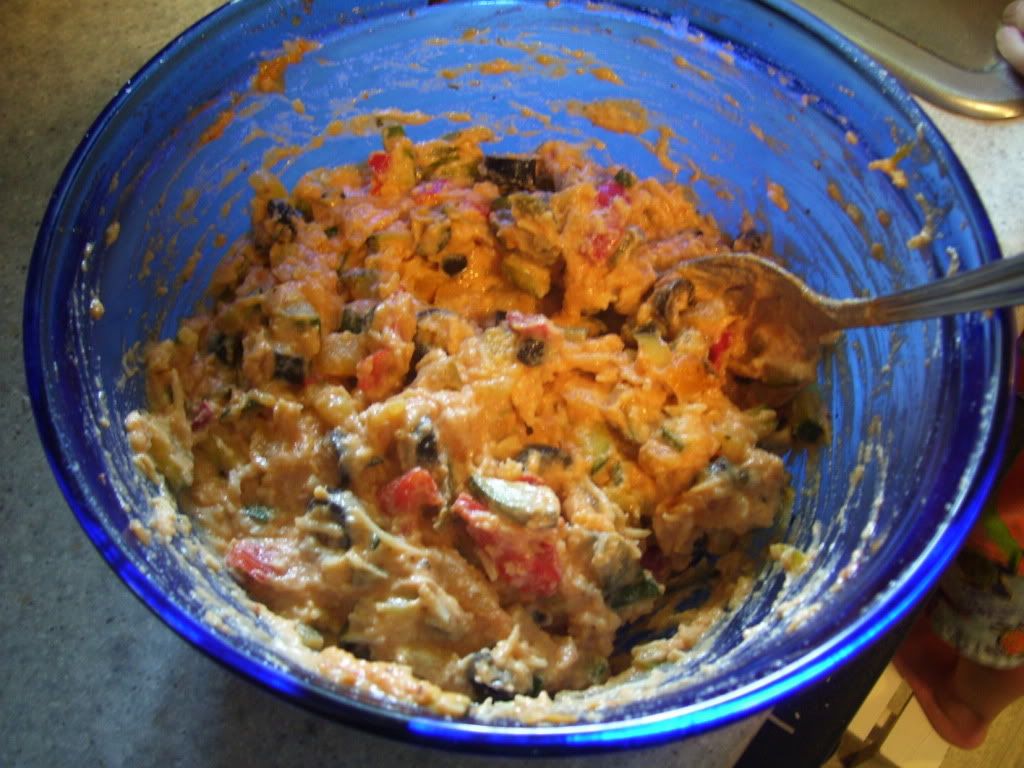
After the cheese mixture is together and the vegetables are done cooking, I add all the vegetables with the cheese and then mix in about a 1/4 cup of pasta sauce.


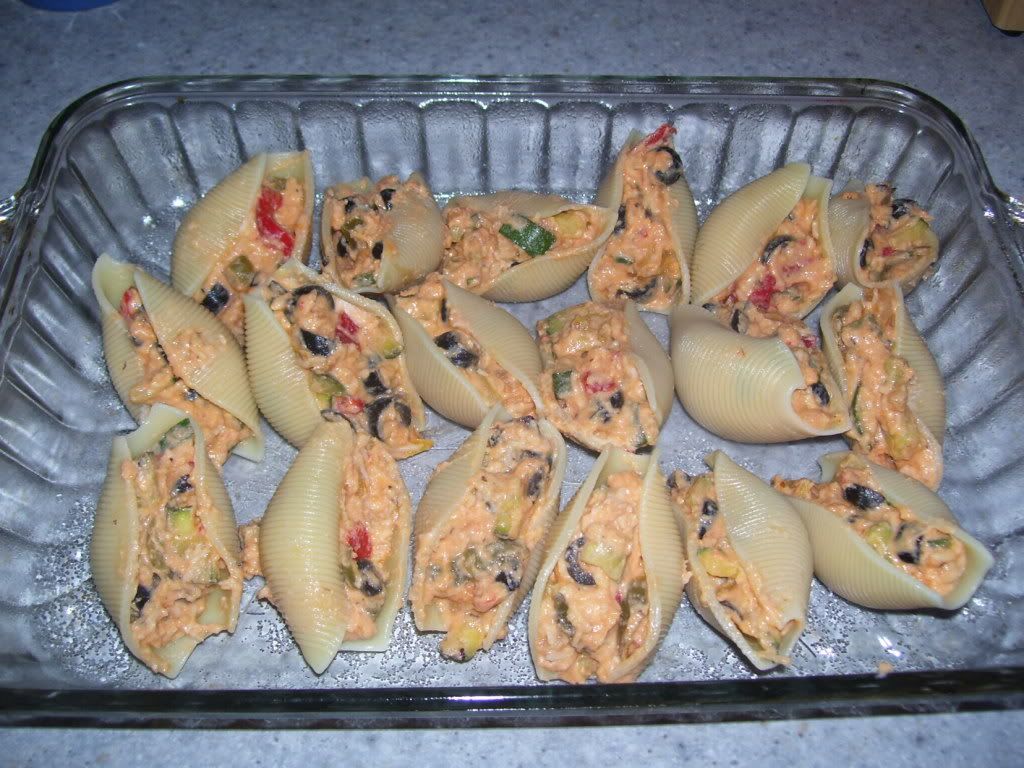
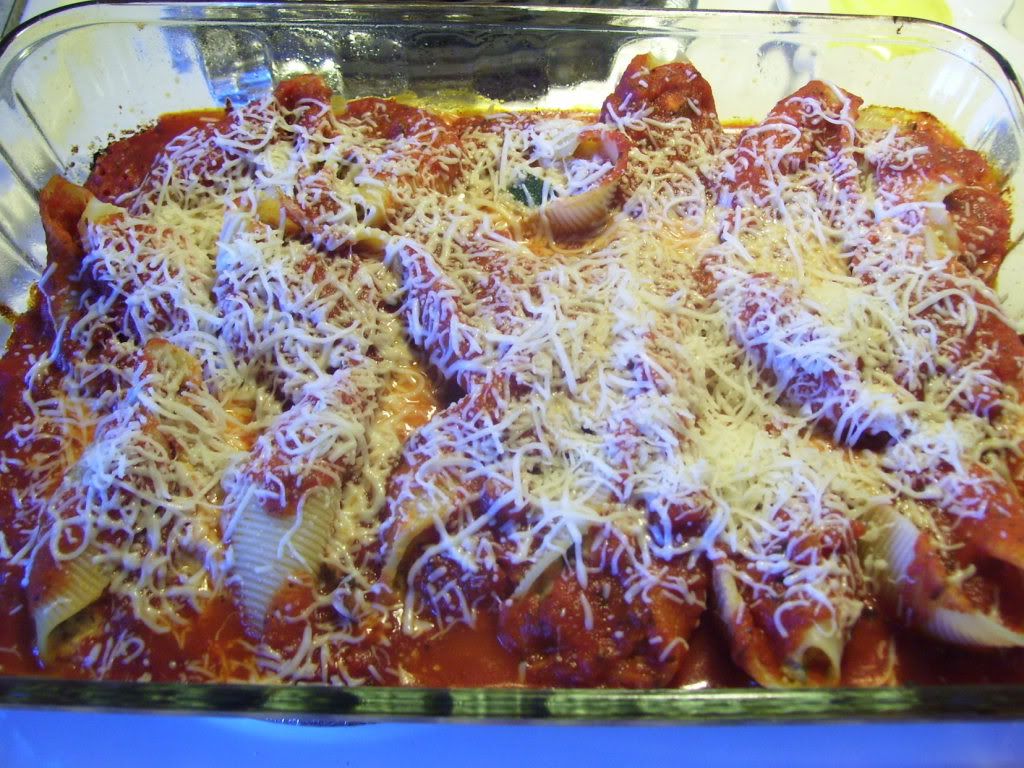
Once everything is good and mixed and the shells have been drained, I then proceed to stuff the shells and add them to a greased 9x13 dish. This really is the hardest step, only because it takes the longest and you have to be a little bit careful to not rip the shells.

Finally I dump a whole bunch of pasta sauce onto the shells. The more sauce the better in my household - especially since leftovers can get really dry if you were light on the sauce originally. I cover the dish with aluminum foil and bake it for about 35 minutes.


After the 35 minutes is up, I take it out of the oven, remove the foil and top with some extra mozzarella. Then it goes back into the oven for another 10 minutes or so.


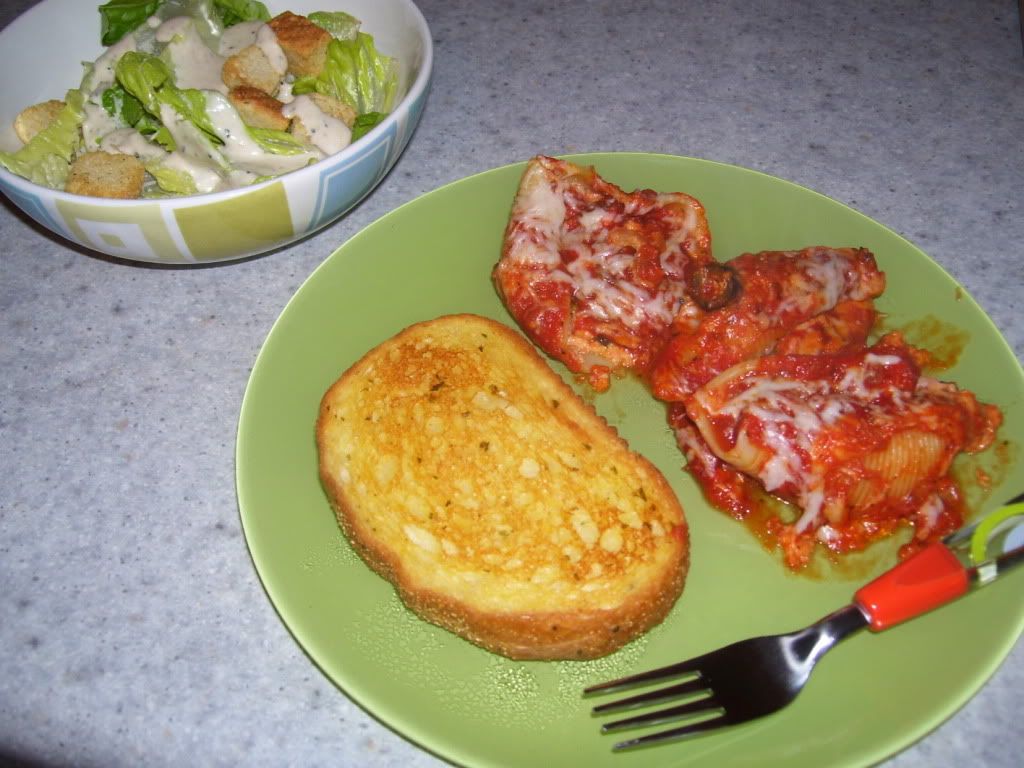
This meal really does come together easily and it looks way harder than it really is! Two reasons to love it and make it often! Also - though I have never frozen them - they make GREAT leftovers for lunch the next day. ENJOY!


7.03.2009

The First & The Last

My parents came over to pick Ronnie up last Wednesday, and they stayed for dinner too! The funny thing, this was both the first and probably the last time I will make dinner for them in this particular kitchen since the big move to the new house is less than 3 weeks away!

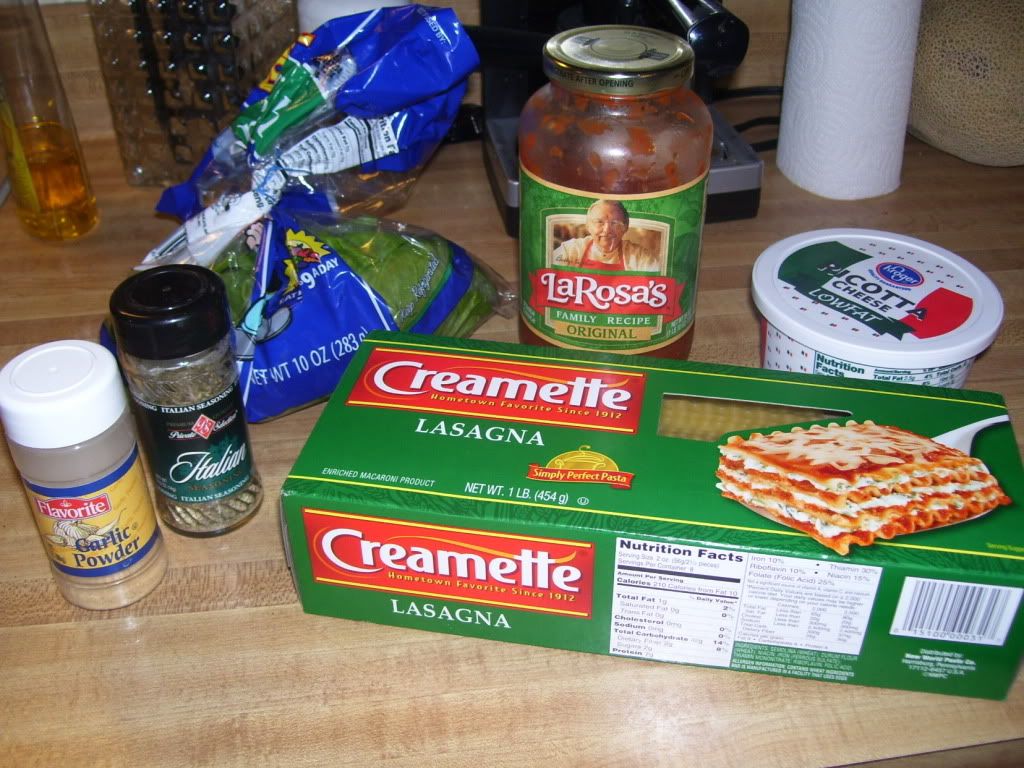
For dinner with my parents, I went with a new recipe I found on the Whole Foods website. The main ingredients include lasagna noodles, garlic powder, Italian seasoning, spinach, pasta sauce, and low-fat ricotta cheese! Sounds like a great start to me!

The basic ideas of these "Cheesy Spinach Rolls" is to roll the noodles instead of layering them like a lasagna. So... First things first, I boil the noodles.


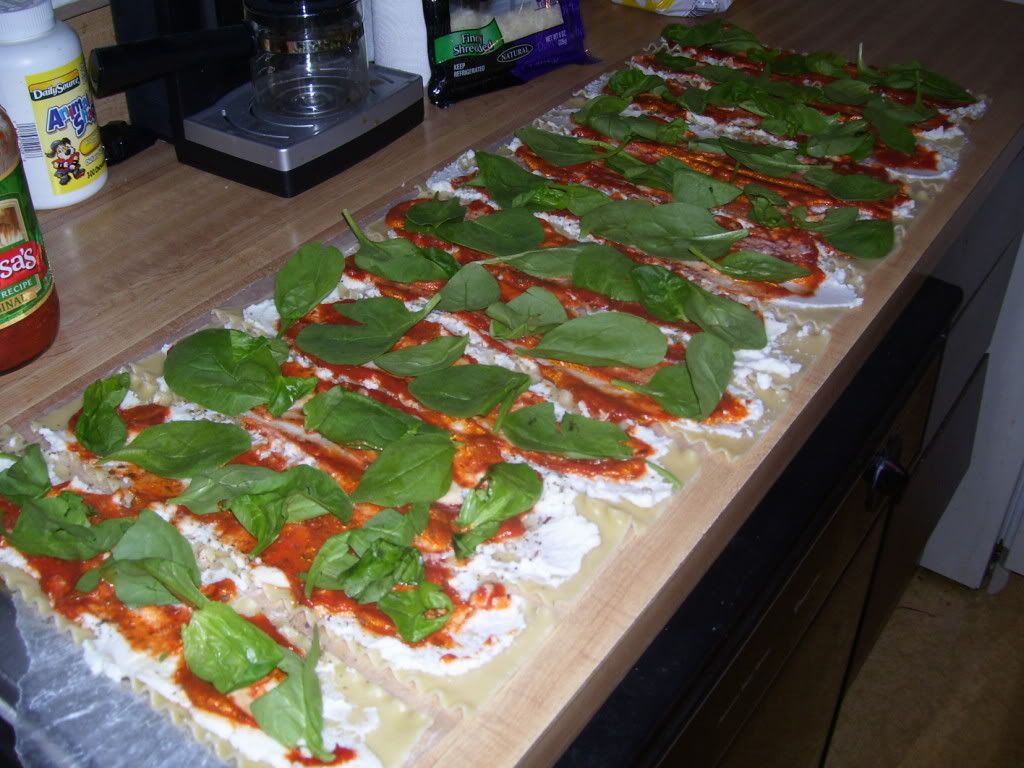
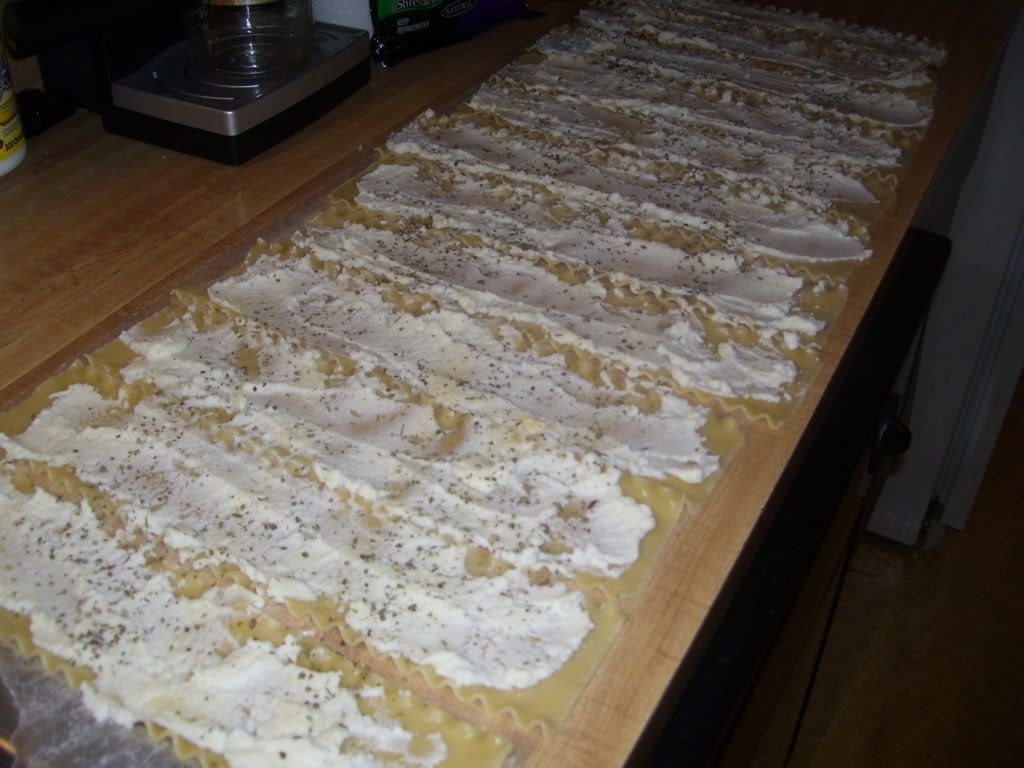
Next, after the noodles are done, I lay some wax paper on the counter and place all the noodles next to each other. The first layer of the rolled noodles is the low-fat ricotta cheese. I also topped it with some garlic powder and Italian seasoning.

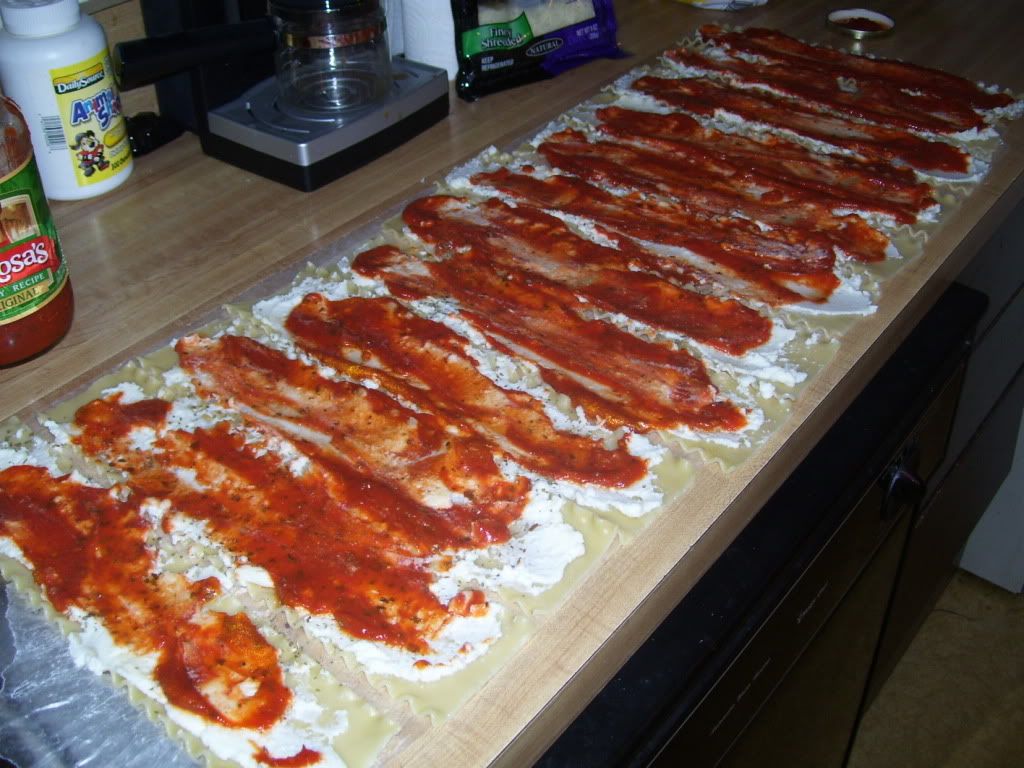
I then spread the noodles with the pasta sauce.


Our next ingredient - the spinach! I love spinach!


Lastly, I top the rolls with a little bit of leftover mozzarella cheese I had in the fridge. I figured - why not?


Now the fun part - rolling the stuffed noodles. Just a simple roll is all it takes. Seriously, this couldn't get any easier!


After each individual noodle has been rolled, I place them in a 9x13 pan. You want a bit of a tight fit so they don't come apart while they are baking.


Then before I place them in the oven, I top the rolls with my remaining pasta sauce.


These rolls are a great alternative to a regular lasagna. Next time I think I'll have Ronnie help me, because this truly is an easy, kid-friendly prepping recipe!


I am not exactly sure what is up for the next recipe! If I have my say, I will be making BBQ Portabello Quesadillas with grilled corn on the cob!