Showing posts with label avocado. Show all posts

1.24.2010

Green Soup! (But not the kind you're thinking of.)

While checking up on family and friends on facebook, I saw that my aunt had posted a recipe that she wanted to try, Avocado Soup, from GMA's 10 Things You Should Eat. Being the avocado-lover that I am, I was instantly curious. After looking over the ingredients and directions, I decided this would be a perfect weekend lunch for my family, and with a few tweaks, Matt and I (not so much Ronnie - too "green" for him) GREATLY ENJOYED this awesome avocado soup!
First things first, the leek. For those of you that have never worked with leeks, it's basically like working with a really big green onion. Seriously, it's super easy and don't let the unknown intimidate you with this vegetable. I cut off both the rooted end and the tough green ends of my leek. I then cut the leek right down the middle, and proceed to chop. TIP - You'll find that leeks have hidden mud and dirt in them once you start chopping, so I always save the wash for after I am done chopping by soaking it in a bowl of water for a minute (to loosen the dirt) and then rinsing in a colander afterwards.
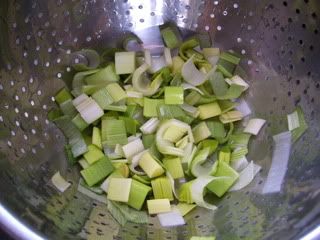
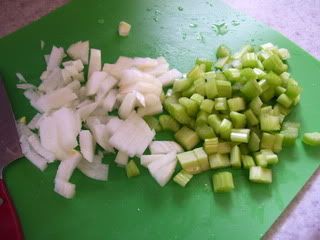
When I am done prepping my leek, I prep my other vegetables, a few celery stalks and a white onion.


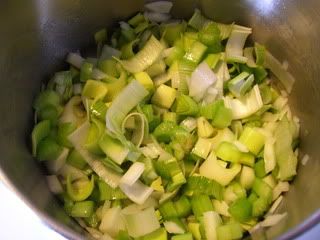
I follow the directions by heating some olive oil in my soup pot, but I also add a bit of minced garlic to the olive oil. Once it is hot, I add the leeks, celery, and onion to saute for about 8 minutes.


While the veggies are getting soft, I cube and mash a large avocado.


Once the veggies have been softened, I add the bay leafs, coriander, and cumin. I actually used about a whole teaspoon of cumin and though this version turned out tasty - next time I am going to add some chili powder at this point as well. I give the seasoning about 2 minutes to get hot before I add the remaining ingredients.
Now it's time to add the vegetable broth (called for chicken broth, but obviously I changed that), the mashed avocado, and lime juice.


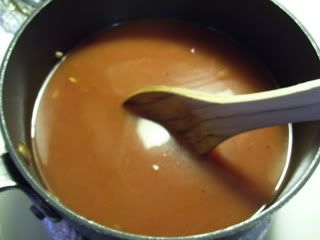
Instead of the ten minutes suggested, I let my soup go for about 20 minutes. It's kind of cool to see that as it heats, the avocado kind of disintegrates and starts to turn the soup a nice green color. When I am ready to serve, I remove the soup from the heat and season with salt and pepper.
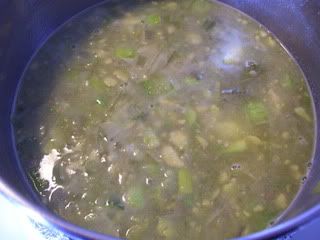


Finally, I ladle the soup up and top it with some cilantro (all I had was dried at the time) and chopped green onions. We paired this soup with one of those pull-apart cheddar loaves you get from the bakery. YUM! Super good to dip in the soup.
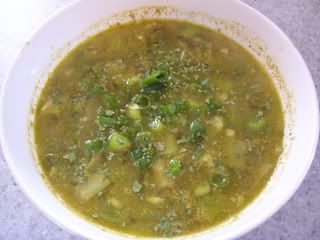


For the easiness and healthy factors of this soup - it is definitely a keeper! As stated before, I'll add some chili powder next time. TRY IT! Leeks? Avocados? Don't let it distract you from this awesome find!

1.17.2010

TOUCHDOWN!!!

Busy, busy, busy!!!! The holidays combined with working and going to school make it hard for me to keep the blog current. My apologies to anyone out there in cyberspace that likes to check up on Luckey's Lunch regularly. I will say this though - after today's post, I just have to upload some pictures and I'll have two more posts ready to go (an avocado soup and calzones from scratch). So check back for those soon!


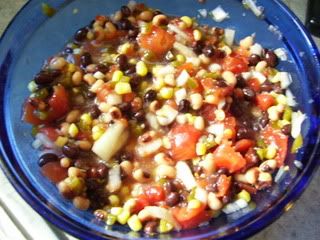
I know the Super Bowl is coming up, so I thought I would post a few appetizers I have made lately that are truly crowd pleasers. First one up - Cowboy Caviar. This is actually a combination of two recipes where I only took the ingredients that suited my tastes. I just made this for a birthday party this past weekend and it was a hit!!! I had several people ask me for the recipe! So - here it is people!


Cowboy Caviar, Luckey's Style
  • 1 (15 oz) can of black beans, drained and rinsed
  • 1 (15 oz) can of black eyed peas, drained and rinsed
  • 1/2 to 1 cup of frozen corn (depending on how much you like corn), thawed and patted dry
  • 1/2 chopped onion
  • 1 (4oz) can of diced jalapeno peppers
  • 1 (14.5 oz) can diced tomatoes, drained
  • 1 cup of Zesty Italian dressing
  • 1/2 teaspoon of garlic salt
  • 1/2 teaspoon of cayenne pepper
  • 2 avocados
In a medium bowl, combine the beans, peas, corn, onion, jalapeno peppers, and tomatoes. Season with the Italian dressing, garlic salt, and cayenne pepper. Cover and refrigerate for at least 4 hours. Right before serving, cube the avocados and add them into the bean mix. Serve with tortilla chips. ENJOY!


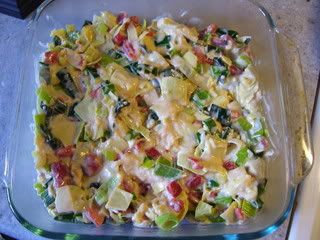
Next up is a twist on your average artichoke dip, Artichoke and Roasted Red Pepper Dip (<--- click on the name for the recipe). Instead of using spinach, this one adds in roasted red peppers and leeks. As you might have guessed, I spied this recipe from allrecipes.com and followed the recipe pretty closely. All I did differently was add some minced garlic to the hot oil and added about 2 more tablespoons of mayo. This is something GREAT to make up ahead (minus the baking), stick it in the fridge till you're ready to pop it in the oven and eat! I served this particular dip with plain pita chips, though I think next time getting the parmesan or garlic style ones would be AWESOME!


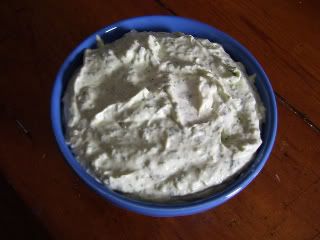
And finally for your Super Bowl party needs, whats a party if there is no chip dip!?!?! Green Onion and Ranch Dip is a PERFECT pick! Once again, allrecipes.com was the source of this find and WOW! This dip packs a green onion punch - but the good kind. I followed the recipe exactly and I mixed everything really well in my food processor. Honestly, I don't think I'll ever buy chip dip again because not only was it packed with good flavor, it was super easy to make too!!! I served this dip with carrot and celery sticks, along with ruffled potato chips. Pretzels would be good too!


See - you thought you would be stressing about what to make for your Super Bowl party... Not anymore!!! Try them out for yourself, I promise that people will be asking for the recipes!!!
Till next time - have a fun party!


12.14.2009

Feliz Navidad!

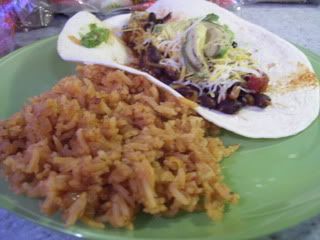
Luckey's Lunch LOVES Mexican food! There is no getting around it! I will take every opportunity I can to try out a veggie-fied Mexican dish. This post consists of Black Bean Soft Tacos and Mexican Rice!
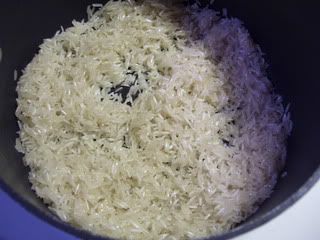
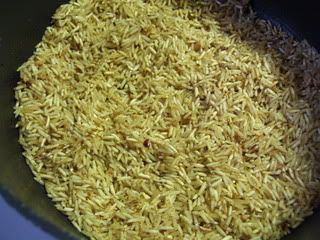
To start the dish out I heat some oil in a skillet and add the rice to brown. The rice takes about 45 minutes to complete and is the longest part, so I start this out right away!
While the rice is browning I add some salt and cumin powder. I let this keep going for about 10 minutes.


I then stir in some chopped onions and cook about 5 minutes more.

After the onion has been softened I add in tomato sauce and vegetable broth, bring it to a boil, cover and let it simmer for about 25 minutes, keeping the lid on the entire time.

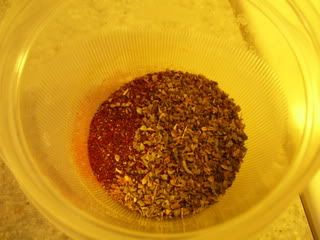
As I am getting the rice started, I also prep the black bean soft tacos. As I usually like to do, I get all my spices and herbs together. This particular recipe uses chili powder, cumin, oregano, salt, garlic powder, and freshly ground pepper. I also drain and rinse two cans of black beans, slice an avocado, and chop an onion.


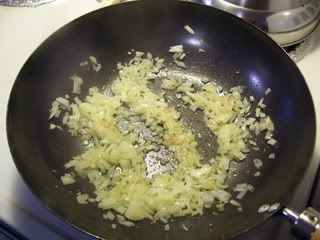
I start out by cooking the onions and some minced garlic in my wok. I LOVE my wok! If you don't have one, I HIGHLY recommend it! It is completely versatile and works great when I need a large, deep skillet.


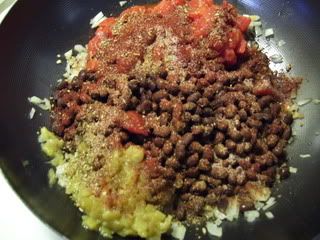
When the onions are soft, I add in everything else: black beans, a can of diced (undrained) tomatoes, a can of chopped green chilies, and my collection of spices and herbs.


Everything gets mixed together well and then cooked together for about 10 minutes. If it wasn't for the rice, this might be one of the fastest home cooked meals ever attempted (and it's tasty too!)


Once the beans are done, the rice is ready to go and I fluff it with a fork.


Onto a warmed tortilla the bean mixture goes - and I top it with some shredded cheese and avocado slices. If you are thinking about skipping the avocado - DON'T!!! This adds such a great soft and creamy texture to the taco, they wouldn't be as good without it! The Mexican rice also keeps well in the fridge and makes GREAT leftovers!


I can honestly say this is a meal Ronnie really likes. So much so that during dinner he'll make comments like "This is delicious!" and "MmmMMM!" If Ronnie likes it - you will too! Guaranteed!!!


So.... holidays, school, work, football season... Life has just been one big whirl of activities! We'll see what it allows me to come up with next!? (Maybe when would be more appropriate!)
Happy Holidays and have fun in the kitchen this season!

9.24.2009

September = Tempeh Month! I'm callin' it!

Well, apparently September is Tempeh Month because my first September post was a tempeh sandwich, the current post involves a tempeh burrito, and I already know what the next post's main ingredient is - that's right - TEMPEH! I guess I go through spurts with the stuff. Sometimes making it multiple times a week, then going a month without using it at all. And so it goes...
This particular recipe is borrowed from Ken Haedrich's cook book "Feeding the Healthy Vegetarian Family". It's been a while since I have read the opening chapter of the book, but if my memory serves me correctly, Mr. Haedrich was originally a food critic and a cookbook writer, and over the years his family began using less and less meat in their daily meals. He then wrote this wonderfully written narrative cookbook and the rest is history! I will have to give this book 5 stars!! Everything, and I mean EVERYTHING I have ever made always comes out absolutely fantastic! Another reason why I enjoy this cookbook so much, it doesn't read like your average cookbook. Before each recipe, Mr. Haedrich gives a little insight about the recipe - how it came about, who in the family likes it the best, and/or what small changes you can make to please a picky eater. It's like you are looking into the window of another vegetarian family's kitchen. Kind of what my readers do here - and I think that's cool! If there was ever a vegetarian cookbook to have - this one is it! Read the reviews on Amazon yourself and you will see that I am not the only one who feels so positively about this book!
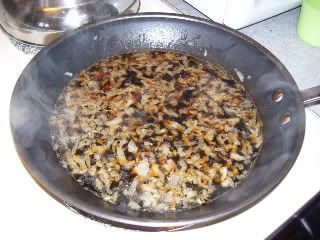
So... This particular evening, I made the BBQ Tempeh Burritos! To start out, I brown some chopped onion and minced garlic in a bit of olive oil. When the onion has browned a bit, I add in 1/2 cup of water and a bit of tamari sauce (soy sauce) and bring it to a boil.
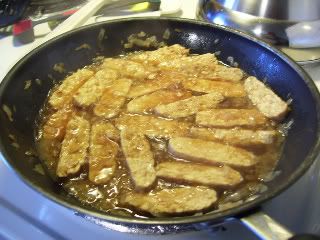
I then add in my sliced tempeh. I turn the tempeh every few minutes and I let this simmer for several minutes.


After almost all the water has evaporated I poor in about 1/3 cup of BBQ sauce. I then let this simmer and cook, turning the tempeh every few minutes, for about 10-15 minutes. This is when it starts to smell really good in my kitchen!


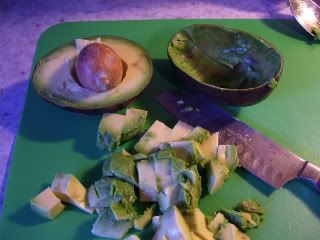
While my BBQ tempeh is cooking, I start to prepare the burrito fillings. If you never knew how to cube an avocado, here is your chance to figure it out. You simply slice the avocado into two halves, remove the pit from whichever half, and then slice grid lines down and across the flesh. Make sure you take your knife all the way to the skin. After you have finished your grid, you take a spoon and simply scoop out the cubes.


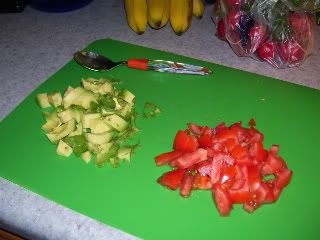
As you can see here, you are left with perfect little avocado cubes. This really is the best way to prepare avocado. You could even slice the flesh long ways and then scoop it out to have strips of avocado - perfect for a pretty salad! I am not a prep-cook and I have never been, but I am pretty sure this is exactly how they do it at restaurants.


Along with the cubed avocado, I also chopped up a tomato...


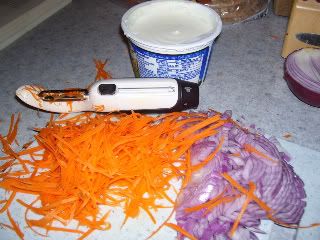
A red onion, shredded some carrots, and also got out the low fat sour cream. These burritos were gonna be YUMMY!


By now the tempeh is ready and all my fillings have been prepared. So on a lightly sprayed, warmed pan, I add a flour tortilla and a bit of monterrey jack cheese. I let it sit for a few minutes, just enough to get the cheese melting.


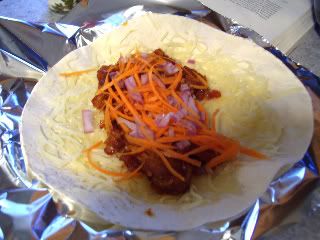
I take the cheesy tortilla out of the skillet and place it on a foil-lined plate. I top the tortilla with some of the BBQed tempeh, red onions, and the shredded carrot.


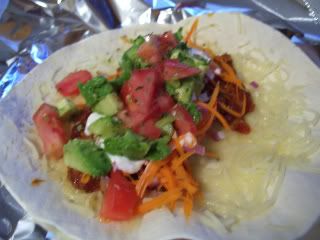
That then gets topped with the sour cream, tomatoes, avocado, and a shake or two of dried cilantro.


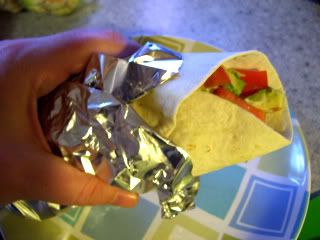
And finally, where the foil comes in - I wrap my burrito in the foil and as I am eating it, I rip the foil down. Somehow, I always over-stuff my burritos. Wrapping it in foil allows me to eat my overstuffed burrito gracefully without all the good-stuff falling out everywhere!


This burrito is TO-DIE-FOR! As I said, everything I have made from Mr. Haedrich's cookbook has been better then the best! I love it!
This weekend I am having my entire immediate family over for dinner (both sides - minus Jake). We are making pizzas!!! Hopefully I'll have time to snap some pictures and share them with you all! Till next time!!!