8.25.2009

Eggs and Pancakes in the Late Evening

Remember that last post when I said I always make Steve's Famous Garlic Home Fries when I make breakfast? Well... I... kind of lied. Though that statement really is about 99% true, I amuse myself right now because this next post consists of breakfast... minus the home fries (oops!) Any-hoo, this breakfast was a battle between good and evil. Good because I made a fairly healthy breakfast sandwich and our pancakes had apples in them, bad because we top the pancakes with butter and powdered sugar. Meh - Ronnie would have never ate the sandwich (I can get him to eat over-easy eggs, but he won't eat scrambles or omelets - how weird is that), and he has been begging for Matt to make apple pancakes for weeks now!
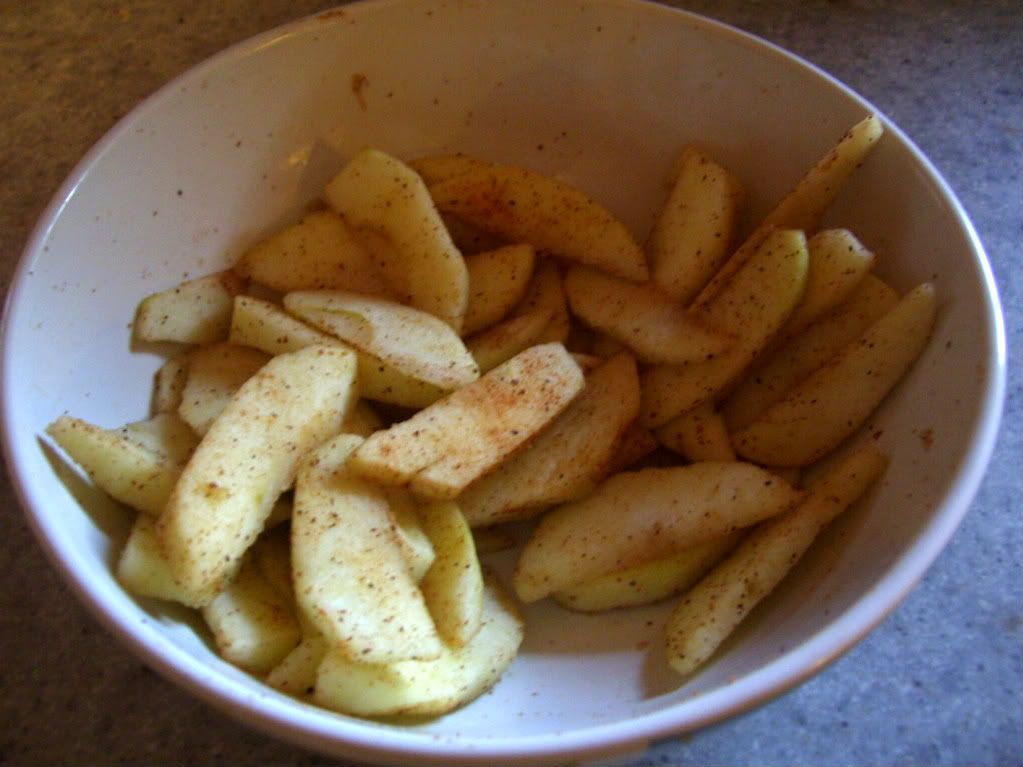
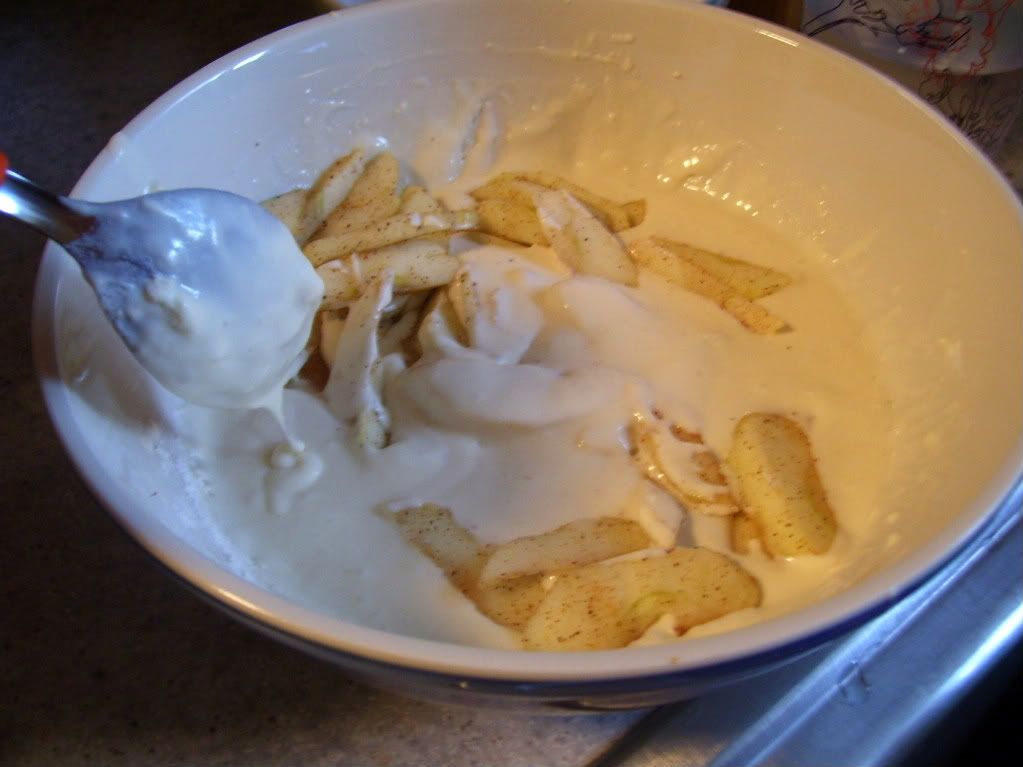
Just like the black bean burritos, these apple pancakes are a Matt original. He starts by skinning, coring and slicing 2-3 medium sized apples. He them sprinkles the apples with nutmeg and cinnamon.
Matt then mixes the apples in a pancake mixture. We always just buy the box-stuff that can make pancakes or biscuits. You just throw in some milk and an egg and you are good to go!
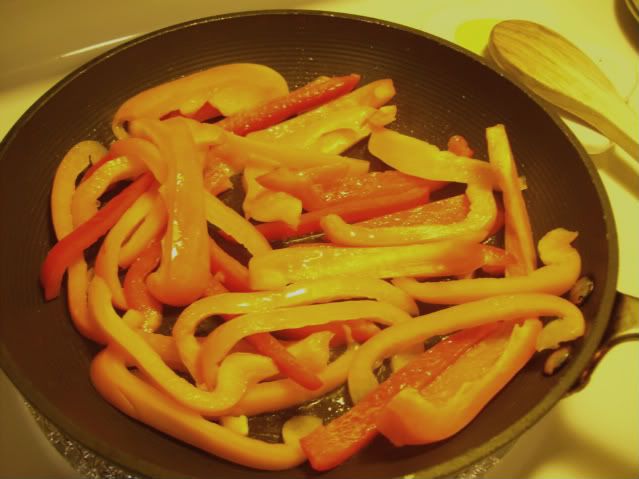
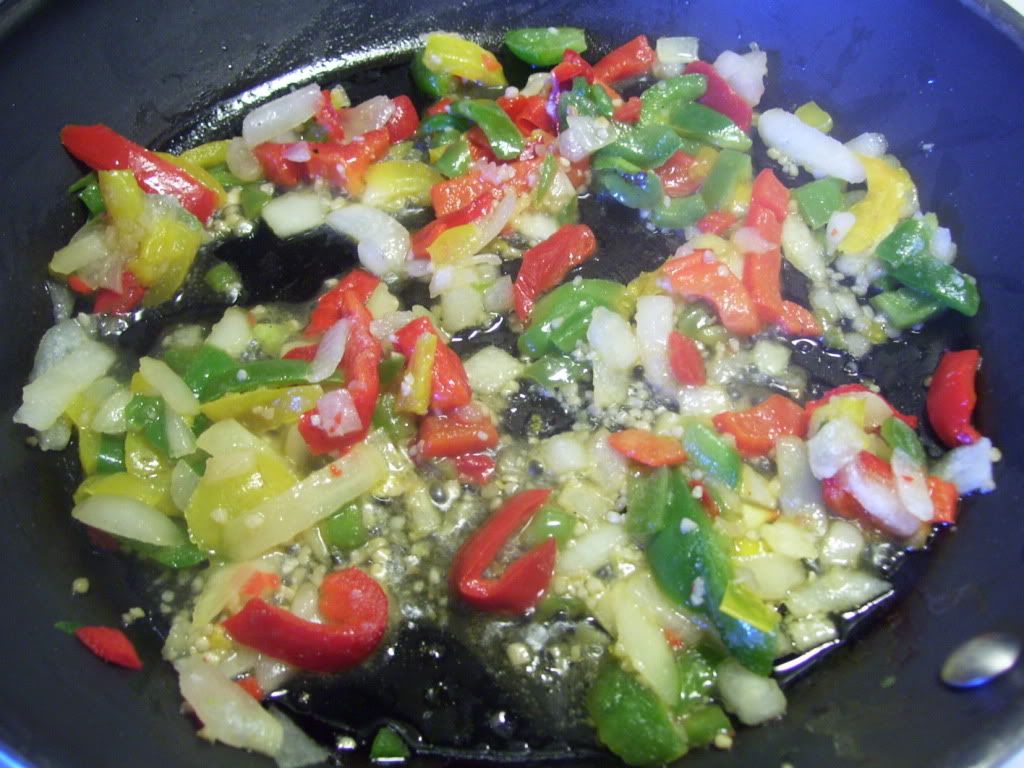
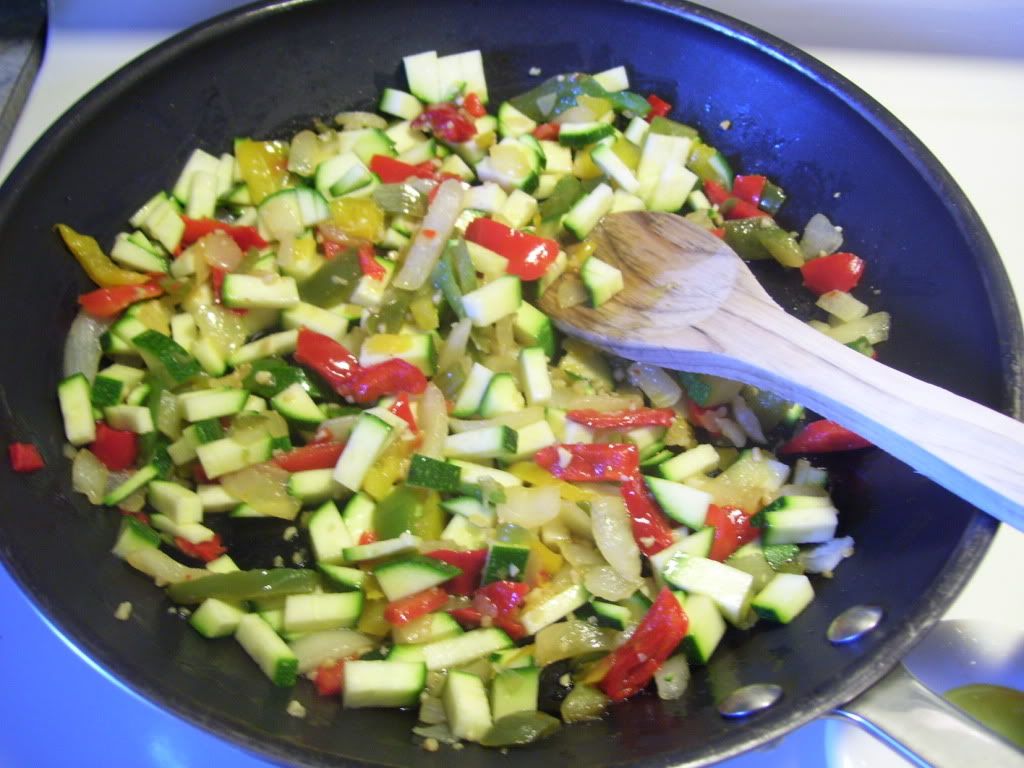
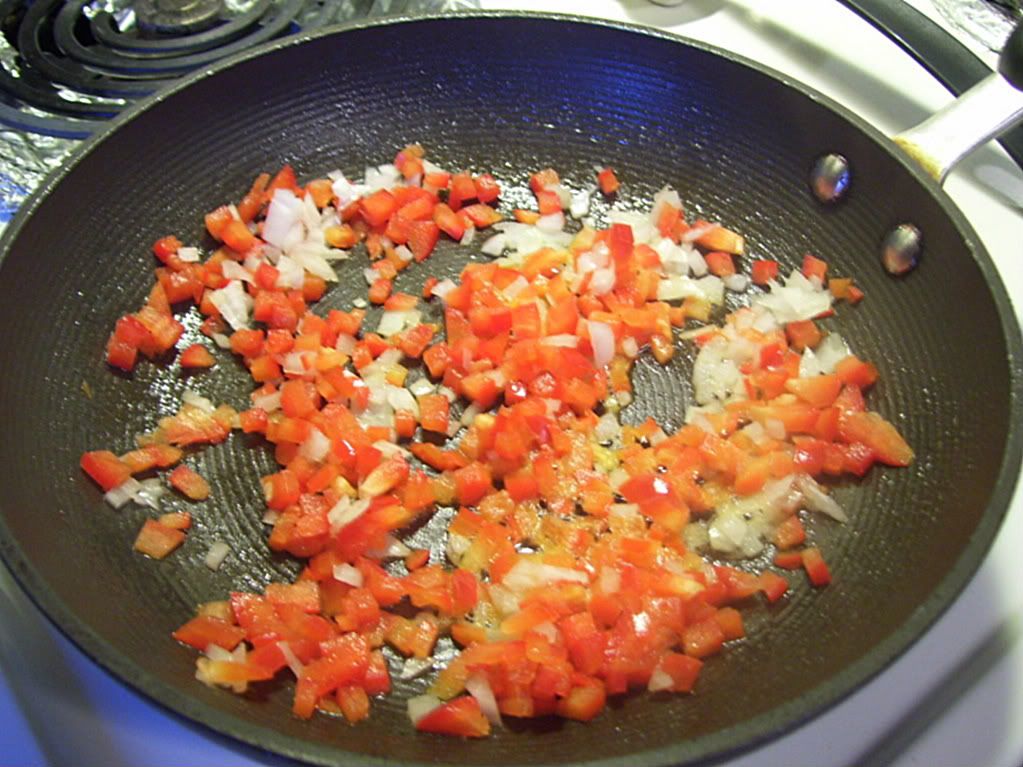
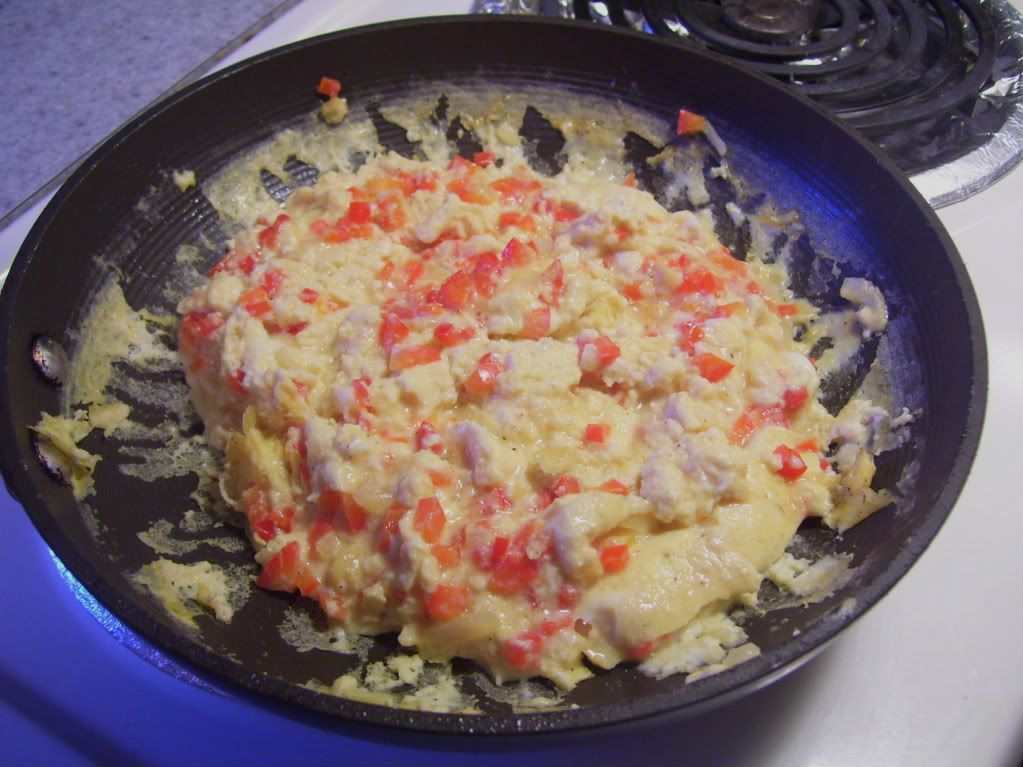
All while Matt is working on the pancakes, I am on the other side of the kitchen working on the sandwiches. Cooking Light's Smoked Mozzarella, Spinach and Pepper Omelet Sandwiches to be exact! I start by sauteing finely chopped red bell pepper and onion with just a little bit of olive oil.

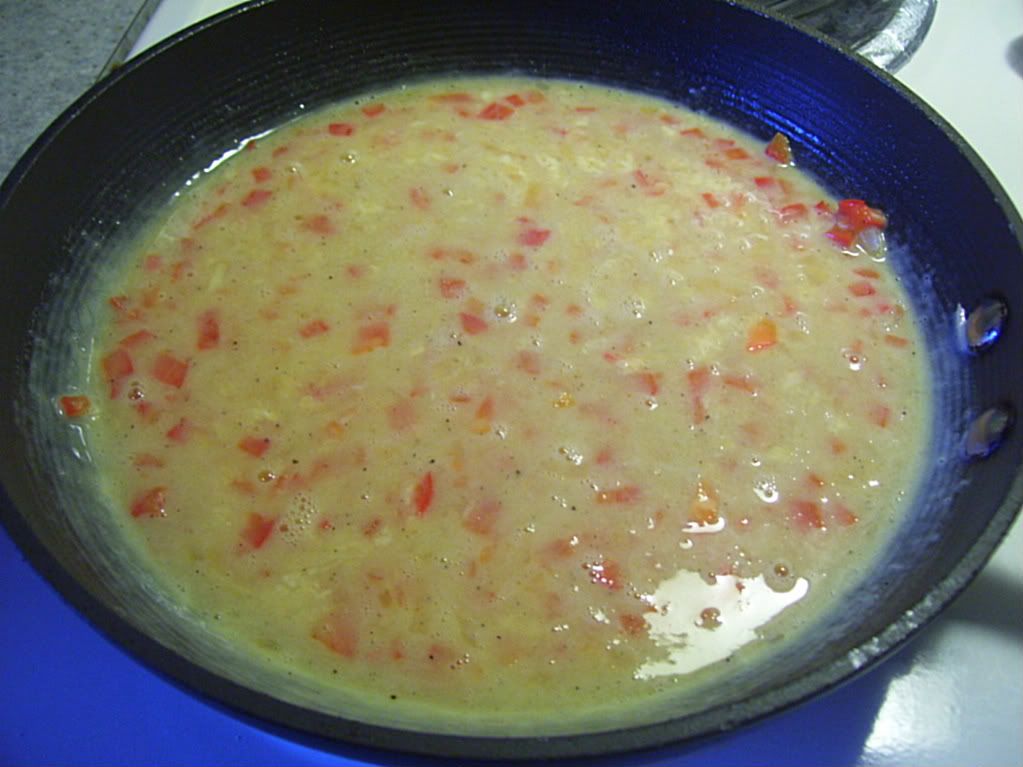
After the veggies are tender, I then dump in a mixture of 3 whole eggs, 2 egg whites, about 10 shakes of hot sauce, salt and pepper. This is *supposed* to be an omelet, so taking a spatula to the sides while tilting the pan is the way I prepared the eggs.

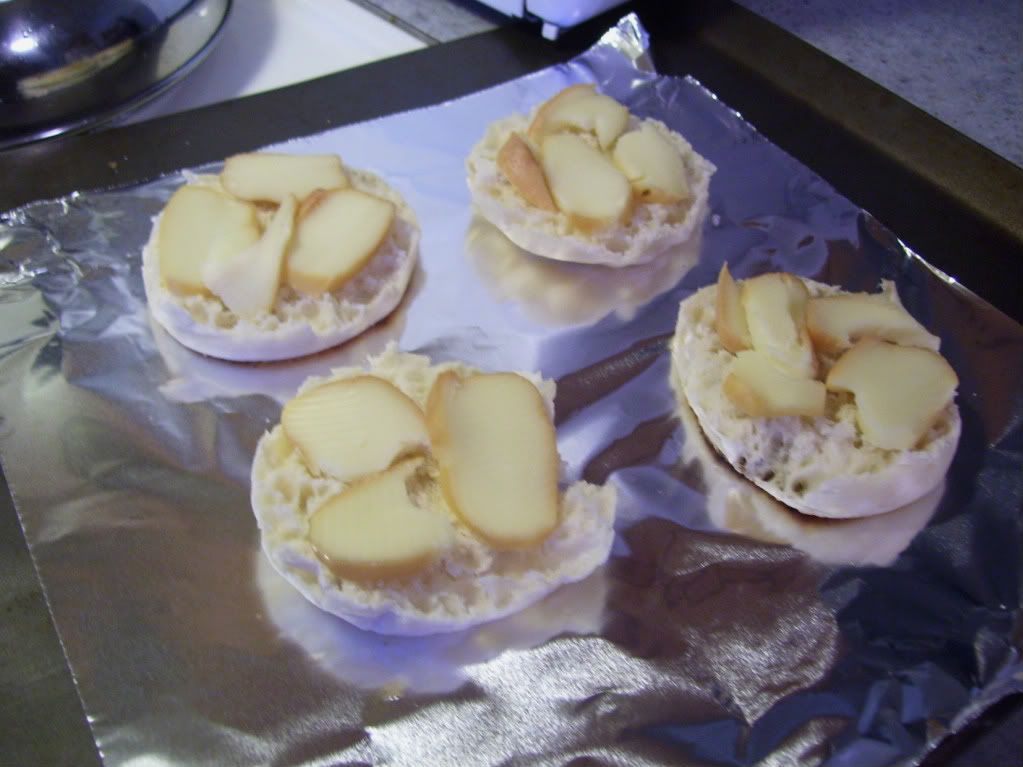
I then start to prepare the bread which consists of english muffins and some expensive smoked mozzarella cheese. These will go under the broiler for a few minutes. (Note - after dinner Matt mentioned that he would rather have the muffins toasted so they would be crispy all around. I didn't mind the broiler effect - but everyone's different!) Also I covered my egg pan handle with foil and stuck the eggs under the broiler too - it helped cook the top wet part of the eggs!


Matt on the other side of the kitchen was working my awesome new griddle that Ronnie gave me for my birthday! Griddles are absolutely THE BEST at cooking things like pancakes and over-easy eggs!


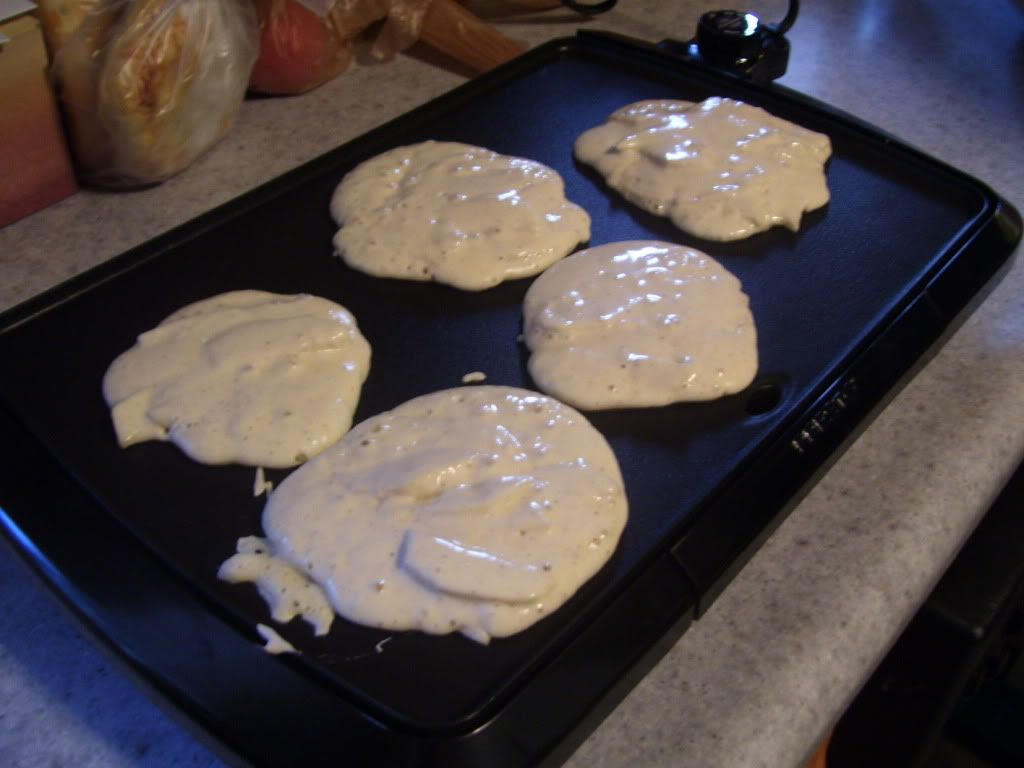
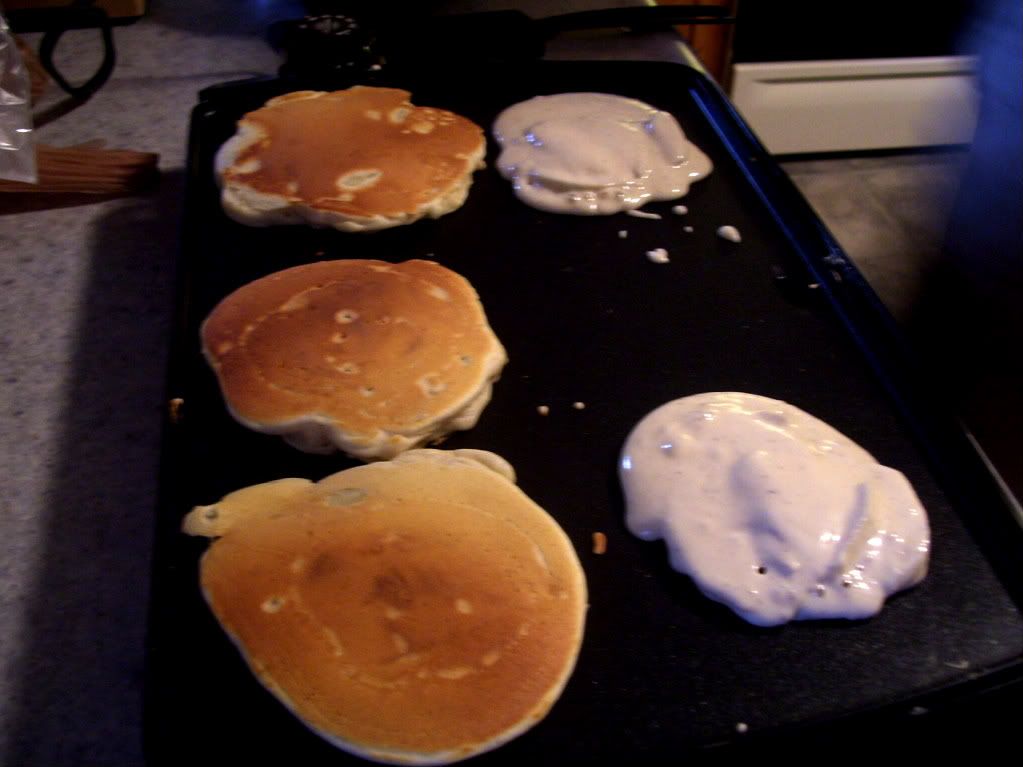
Matt has this great talent of frying bread... Grilled cheese sandwiches, pancakes... He always seems to know the perfect time to flip them! That's why he is in charge of this stuff! I always burn them or they are not done enough when I flip foods like this on a pan or griddle.


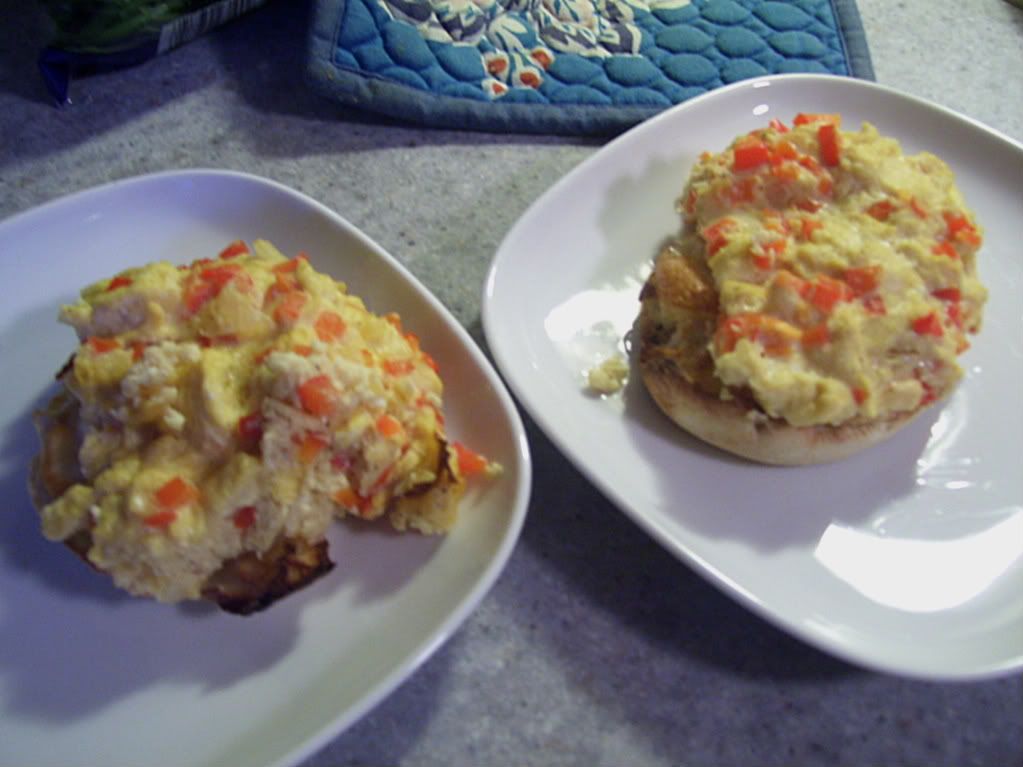
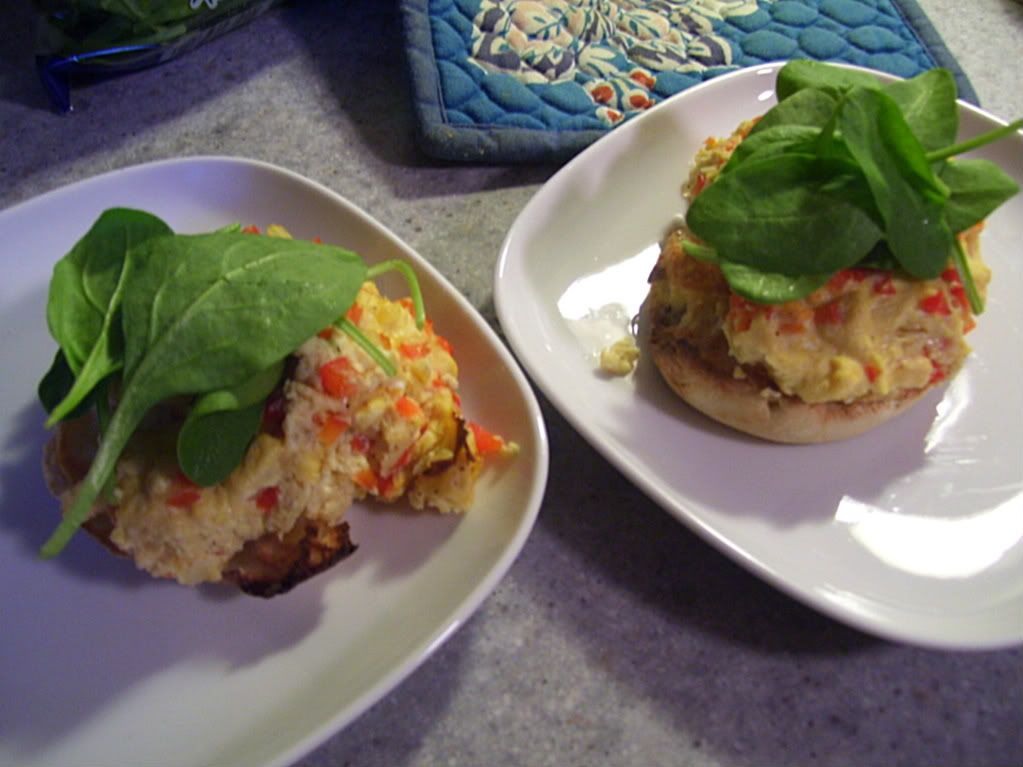
My omelet and muffins come out of the oven looking lovely! And now it is time to assemble the sandwich!


First layer is the muffin and the now warm and gooey smoked mozzarella cheese!


Next I top the cheese with the omelet. This actually made way more than would fit on the muffin, so we had some extra on the side and it was quite tasty!

To add some greenery I top the omelet with fresh baby spinach. (As I have mentioned before - I LOVE spinach!)

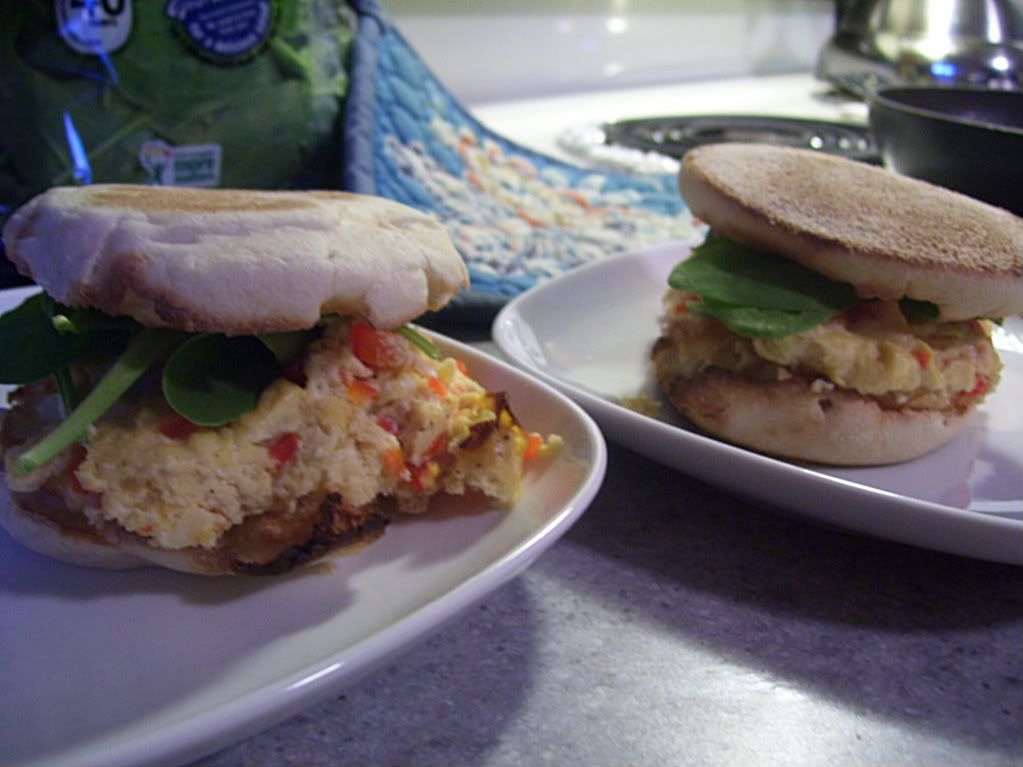
Finally, the top half of the muffin and broiled smoked mozzarella complete the sandwich! This ended up being a pleasant surprise. Matt thinks I should have seasoned the eggs more, but I really enjoyed the simplicity of the eggs. It really lets the smoked mozzarella be the center of attention. I feel like if the eggs had been seasoned more, they would have been competing with the cheese making it a bit too much!


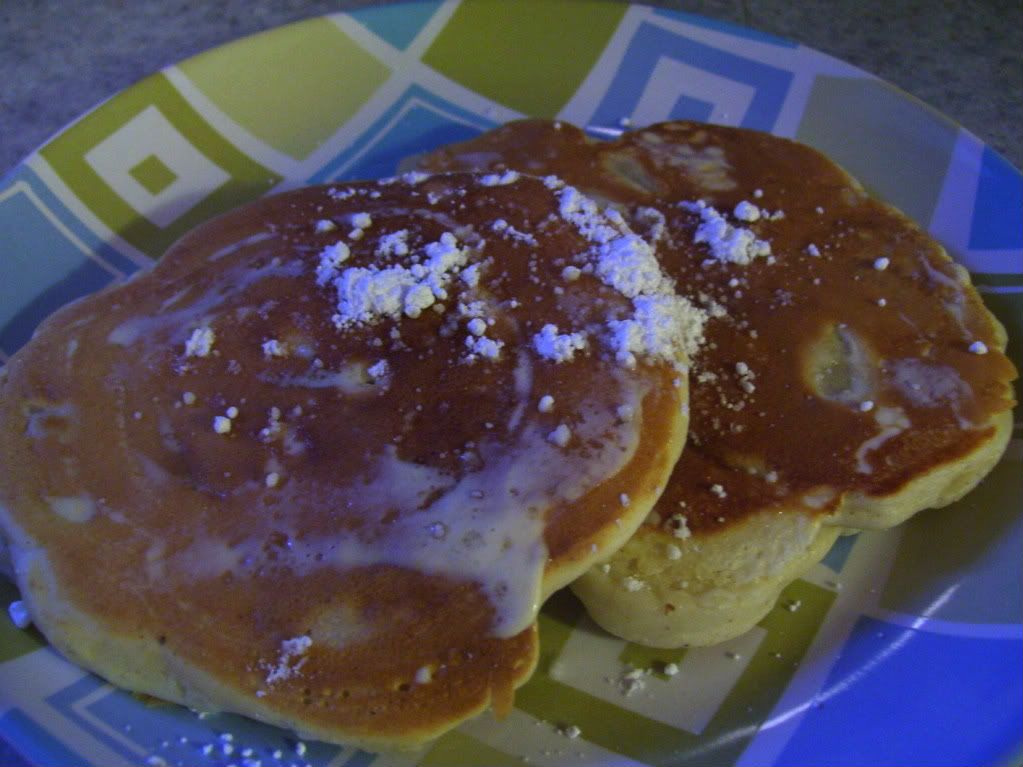
Then there's Ronnie favorite part of the meal! Matt's simple yet delicious apple pancakes! As I said before, no syrup for these bad boys! A little bit of butter and powdered sugar is all these need and they won't last long! Promise!


Next post is a special Cool Kids Grill Out post! My friends and I are having an end-of-the-summer BBQ and I thought it would be fun to ask them about their dishes and take some pictures! I am really excited about it and I hope it goes well. Not all the dishes will be vegetarian (because there are only 2 veggies in my network of close friends, myself included) but most should be veg-head friendly!

8.21.2009

You Can Be A Veg-Head Too!

As some of you may or may not know, today marks my 3 year anniversary as a vegetarian. I dabbled in it before, but now I can say everyday, for the past 1,095 days I have been making a conscious effort to be a lacto-ovo vegetarian (lacto-ovo meaning I eat milk and eggs). It's really nuts how fast time goes and if you have known me during this period, you know I have been taking pictures of my food the ENTIRE time!

Since I have been keeping this blog updated lately, I have had a few people ask me for recipes, tips, ideas and the like. Most of my recipes come from an array of websites and cookbooks, others I have come up with myself. Either way - to mark my three year anniversary I have went through some of my pictures and picked some of my favorite things to eat and make. I have either included simple instructions or have provided a link to the recipe so you can try them out yourself!


Enjoy!!!


First things first - BREAKFAST! Probably my favorite meal of the day. Every once in a while my family prepares breakfast for dinner. It's a fun way to change up the pace a bit. Below is a picture of a simple veggie-omelet, an english muffin, and my FAVORITE breakfast potatoes - Steve's Famous Garlic Home Fries. These home fries have become a staple at my house. If we are making breakfast, these potatoes are ALWAYS made. They also are pretty good heated up in the microwave the next day!

A great snack I have taken to MANY Thanksgivings is the Cranberry Salsa. I sub the serrano peppers for chipotle peppers in adobe sauce and this gives the salsa a nice smokey flavor. You would never know how good these flavors go together until you try it! Serve it over cream cheese and it will be a surprise hit! I promise!


This Fancy Thai Wrap is simple and delicious when you need a hardy snack or something quick for on-the-go! I start out with a whole wheat tortilla and spread low-fat peanut butter on the entire tortilla. I then top the peanut butter with shredded carrots, drizzled honey, raisins, and sesame seeds and it is good to go! This is one of my favorite snacks and I haven't made it in so long - looking at this picture seriously makes me want on right now!!! HAHA


My Happy Sandwich is something I came upon because I was looking for a way to use avocados for lunch. This simple recipe uses some of my favorite ingredients including avocados, sprouts, mushrooms and pita bread. I add a bit of cumin powder when making this filling. Though the avocado browns a bit, this still makes for a great sandwich filling for lunch at work!


Another staple at the Luckey-Meyer house are these Homemade Black Bean Veggie Burgers. These are so good, I served them to a crowd of about 40 at Scorched Nuts 2008. I usually double or triple the recipe and freeze the extras. I rarely buy store-bought veggie burgers now, as these are so much better!!


The Best Veggie Sandwich, though I personally wouldn't call it the best, it's still pretty darn good! The smoked cheddar adds a really interesting element and I wouldn't skip that at all!!! Again, this sandwich utilizes avocado and sprouts, but it has a completely different taste and texture than the sandwich above. The sandwich is paired with baked Spicy Fries. I cannot tell you enough how good these fries are! I like to mix in a sweet potato too! I will warn you though - these fries pack a major kick! Ronnie would never eat them because they are so spicy. Hmmm.... I think I might make some of these tonight! They are so good!!!


Temphe is a fermented soy bean loaf that I use a lot more than tofu. It is so easy to prepare and it crumbles just like a ground beef would, so I often substitute it for things like taco meat. The loaf can also be cut into strips as I do for the Temphe Fajitas. Before I cook the temphe, I let it marinade in a lime juice and soy sauce mixture as I am cutting up the fajita vegetables. These are always a hit - even the Ron-man likes them!


The first lattice I ever made was for a savory pie. This pie happened to be the Meatless Mushroom Tart. I was hesitant about this recipe at first, but it ended up being super delicious, and kind of fancy and expensive tasting all at the same time. A truly elegant and surprising dinner to make!


As I have mentioned in the past, I would rather have red peppers than green peppers, but these Stuffed Peppers My Way are the exception! These are so yummy and they also freeze up great to have future lunches and dinners ready to go! I usually double the recipe and individually freeze the other's for later. For this particular recipe I have added black beans and use canned tomatoes instead of fresh. These are GOOD and they make a great meal with some crusty bread and a side salad.


If I had to pick a favorite homemade pizza - this would be it! This Pizza Without the Red Sauce, as the name implies, does not have a standard tomato sauce base. Instead it uses a sun-dried tomato pesto (mixed with extra garlic and parmesan cheese) that can be purchased at any major grocery store (I have seen it at both Biggs and Krogers). I always add mushrooms to this pizza, just because mushrooms are like a pizza staple at my place.


PIZZA! Can't get enough! I LOVE pizza because you can put just about anything on there to please a number of different tastes. This particular Veggie Ranch Pizza uses a ranch dressing base instead of a tomato sauce (I know - I am such a rebel when it comes to pizza). I always skip the cheddar cheese base and use Naturally Fresh Light Ranch Dressing, I saute the onions and mushrooms in some olive oil and garlic, steam some broccoli, and add chopped tomatoes and green olives to the topping's list! This is one of Ronnie's favorite pizzas!


Looking for a tasty and beautiful summer salad? This Feta Cheese and Basil Salad is just what you have been waiting for!!! Oh my gosh - this is so good. I could seriously eat all of it in one sitting. Avocado, red bell pepper, and kalamata olives? I think I am in love! I follow this recipe exactly except I usually use dried basil instead of fresh - awesome none-the-less and it's just so pretty!


I left this entree for last because it is my favorite recipe online (so far anyway). The Seven Layer Tortilla Pie is something you should try ASAP. I'd like to think of this as an all-around awesome meal because it is so easy, comes together quickly, and the ingredients are almost always at my house already and really some of the cheapest things I buy at the grocery store. I always add chopped green onions, a can of chopped green chilies, and black olives to this bad boy.


And now onto the sweet stuff. I am not a baker - I rarely make desserts at home. But like anyone, occasionally I want to try something different. Seeing as I am not a particularly good baker, this No Bake Peanut Butter Pie is perfect for me! It came together really easily and it tasted even better! All I did differently was add chopped Reese Cups to the filling, sprinkled some extras on top, and drizzled some Hershey's syrup on top too.


Who knew something like baklava could be so simple? I surely didn't until I tried this Easy Baklava recipe. Though it seems kind of intimidating, this really was super easy to make. Time consuming - yes! Hard - no! I use a mixture of walnuts, pecans and almonds for my filling. I would also suggest keeping a close eye on it in the oven as it only takes mine about 35 minutes to bake through.


So there you have it people - 3 years of favorites right before your eyes! Try some, or heck - try them all! Let me know what you think!

8.19.2009

It's almost time!

This Friday marks my 3 year anniversary as a vegetarian. I will be making a special post to mark the occasion! Remember to come back and check it out!!!

8.16.2009

Fancy-Smancy Pizza

At my old place I would have never, ever, EVER displayed on the internet the cabinet I kept all the main cooking ingredients in. It used to be in two cabinets actually, and one of them was called "the cabinet we don't talk about" because when you opened it, usually about 3-6 things would come tumbling out. Now that I have my new space with a bigger kitchen I LOVE my new cabinet! I love it so much, that I wanted to share it with everyone! And seriously, I should have invested in a lazy-susan a LONG time ago! Those things ROCK! So here ya go - this is where it all begins...

Today's post includes a pizza and some fried eggplant. If you know me, you know I LOVE to make pizzas. And not just any 'ole pizza, I love to experiment with new ingredients and toppings almost every time, and this day was no exception - Artichoke-Pepper Pizza with Feta Cheese!
For the fried eggplant, I began by soaking cubed eggplant in some salt water for about 15 minutes.


While the eggplant was soaking, I start sauteing a red and yellow bell pepper I cut into strips with a little bit of olive oil and minced garlic.


For the base of my pizza, in the food processor I add a jar of drained artichoke hearts, 1/4 cup of low-fat mayo, crushed red pepper flakes, freshly ground pepper, and some more minced garlic (because who could ever get enough of that stuff?) I then pulse it all together until it is well mixed.


Once the 15 minutes is up for the soaking eggplant, I drain the water and dry the cubes with a paper towel. After they are nice and dry I toss the eggplant with corn meal and freshly ground pepper.


And into a heated skillet with a little bit of vegetable oil the eggplant goes! This is the first time I have made fried eggplant, and it actually fried up a lot easier than I expected. You just have to toss every few minutes and they are good to go.


I almost always use the Pillsbury ready-made pizza crust for my pizzas. I find that they are equally tasty and easy, and you can almost always find them on sale or a coupon to use. I also always bake the crust for about 6 minutes before I add the toppings and put it back into the oven; it makes for a crispier crust.
So... While the eggplant is frying, I start to top the pizza. First things first, I spread the artichoke mixture on top of the precooked crust.


Next on goes the sauteed peppers and garlic.


And finally I top the pizza with some feta cheese and dried thyme. Into the oven for about 8 minutes it will go!
As I stated before, the eggplant fried up beautifully. I have to admit though - the eggplant was not a big hit... None of us finished it. I think next time I will heat up some tomato sauce to pour on top of it. It was just kind of plain and needed something to go with it.

The pizza out of the oven looks great and ready to eat!


All in all, it was a wonderful meal. The pizza was superb! It could pass for any fancy pizza parlor-pizza! Though the eggplant wasn't as good as I wanted it - I think I could do better with it next time!
Pizza also makes a GREAT leftover for lunch the next day! It was good then too!!!


8.09.2009

Stuff This Not That

Welcome to my NEW kitchen! Okay, well, it's not new-new, but it's new to me!!! Though it's not that much bigger than my old one, I feel like I have so much more room to spread out and really get cooking! You'll also see Ronnie in there - my trusty helper!
Today's meal is consisting of a stuffed shell that I have been making for awhile now. Being a vegetarian, the hardest part about cooking is all the prep-work that can go into it. I like this particular meal because it utilizes frozen vegetables! The only thing I have to prep is some fresh zucchini and opening cans!!!


To start the meal, I boil some lightly salted water and add around 18 shells.


After heating some olive oil in a skillet I add about a cup of frozen pepper and onion mix, along with some minced garlic. See??? No prep! Straight from the freezer to the skillet! LOVE IT!


This is my only major prepping-step! I cut up a medium zucchini. Not too bad at all!


I then add the chopped zucchini to the pepper-onion and garlic mix and let it cook for about 5 minutes. Then I add a small can of sliced black olives! Mm-mmm... Olives! I think it's the olives that really make this meal special.


My trusty helper Ronnie is seen here mixing low-fat ricotta, parmesan and part-skim mozzarella cheese. This recipe originally calls for an egg, but I was out - I honestly didn't even need it as it turned out fine in the end!


After the cheese mixture is together and the vegetables are done cooking, I add all the vegetables with the cheese and then mix in about a 1/4 cup of pasta sauce.


Once everything is good and mixed and the shells have been drained, I then proceed to stuff the shells and add them to a greased 9x13 dish. This really is the hardest step, only because it takes the longest and you have to be a little bit careful to not rip the shells.

Finally I dump a whole bunch of pasta sauce onto the shells. The more sauce the better in my household - especially since leftovers can get really dry if you were light on the sauce originally. I cover the dish with aluminum foil and bake it for about 35 minutes.


After the 35 minutes is up, I take it out of the oven, remove the foil and top with some extra mozzarella. Then it goes back into the oven for another 10 minutes or so.


This meal really does come together easily and it looks way harder than it really is! Two reasons to love it and make it often! Also - though I have never frozen them - they make GREAT leftovers for lunch the next day. ENJOY!